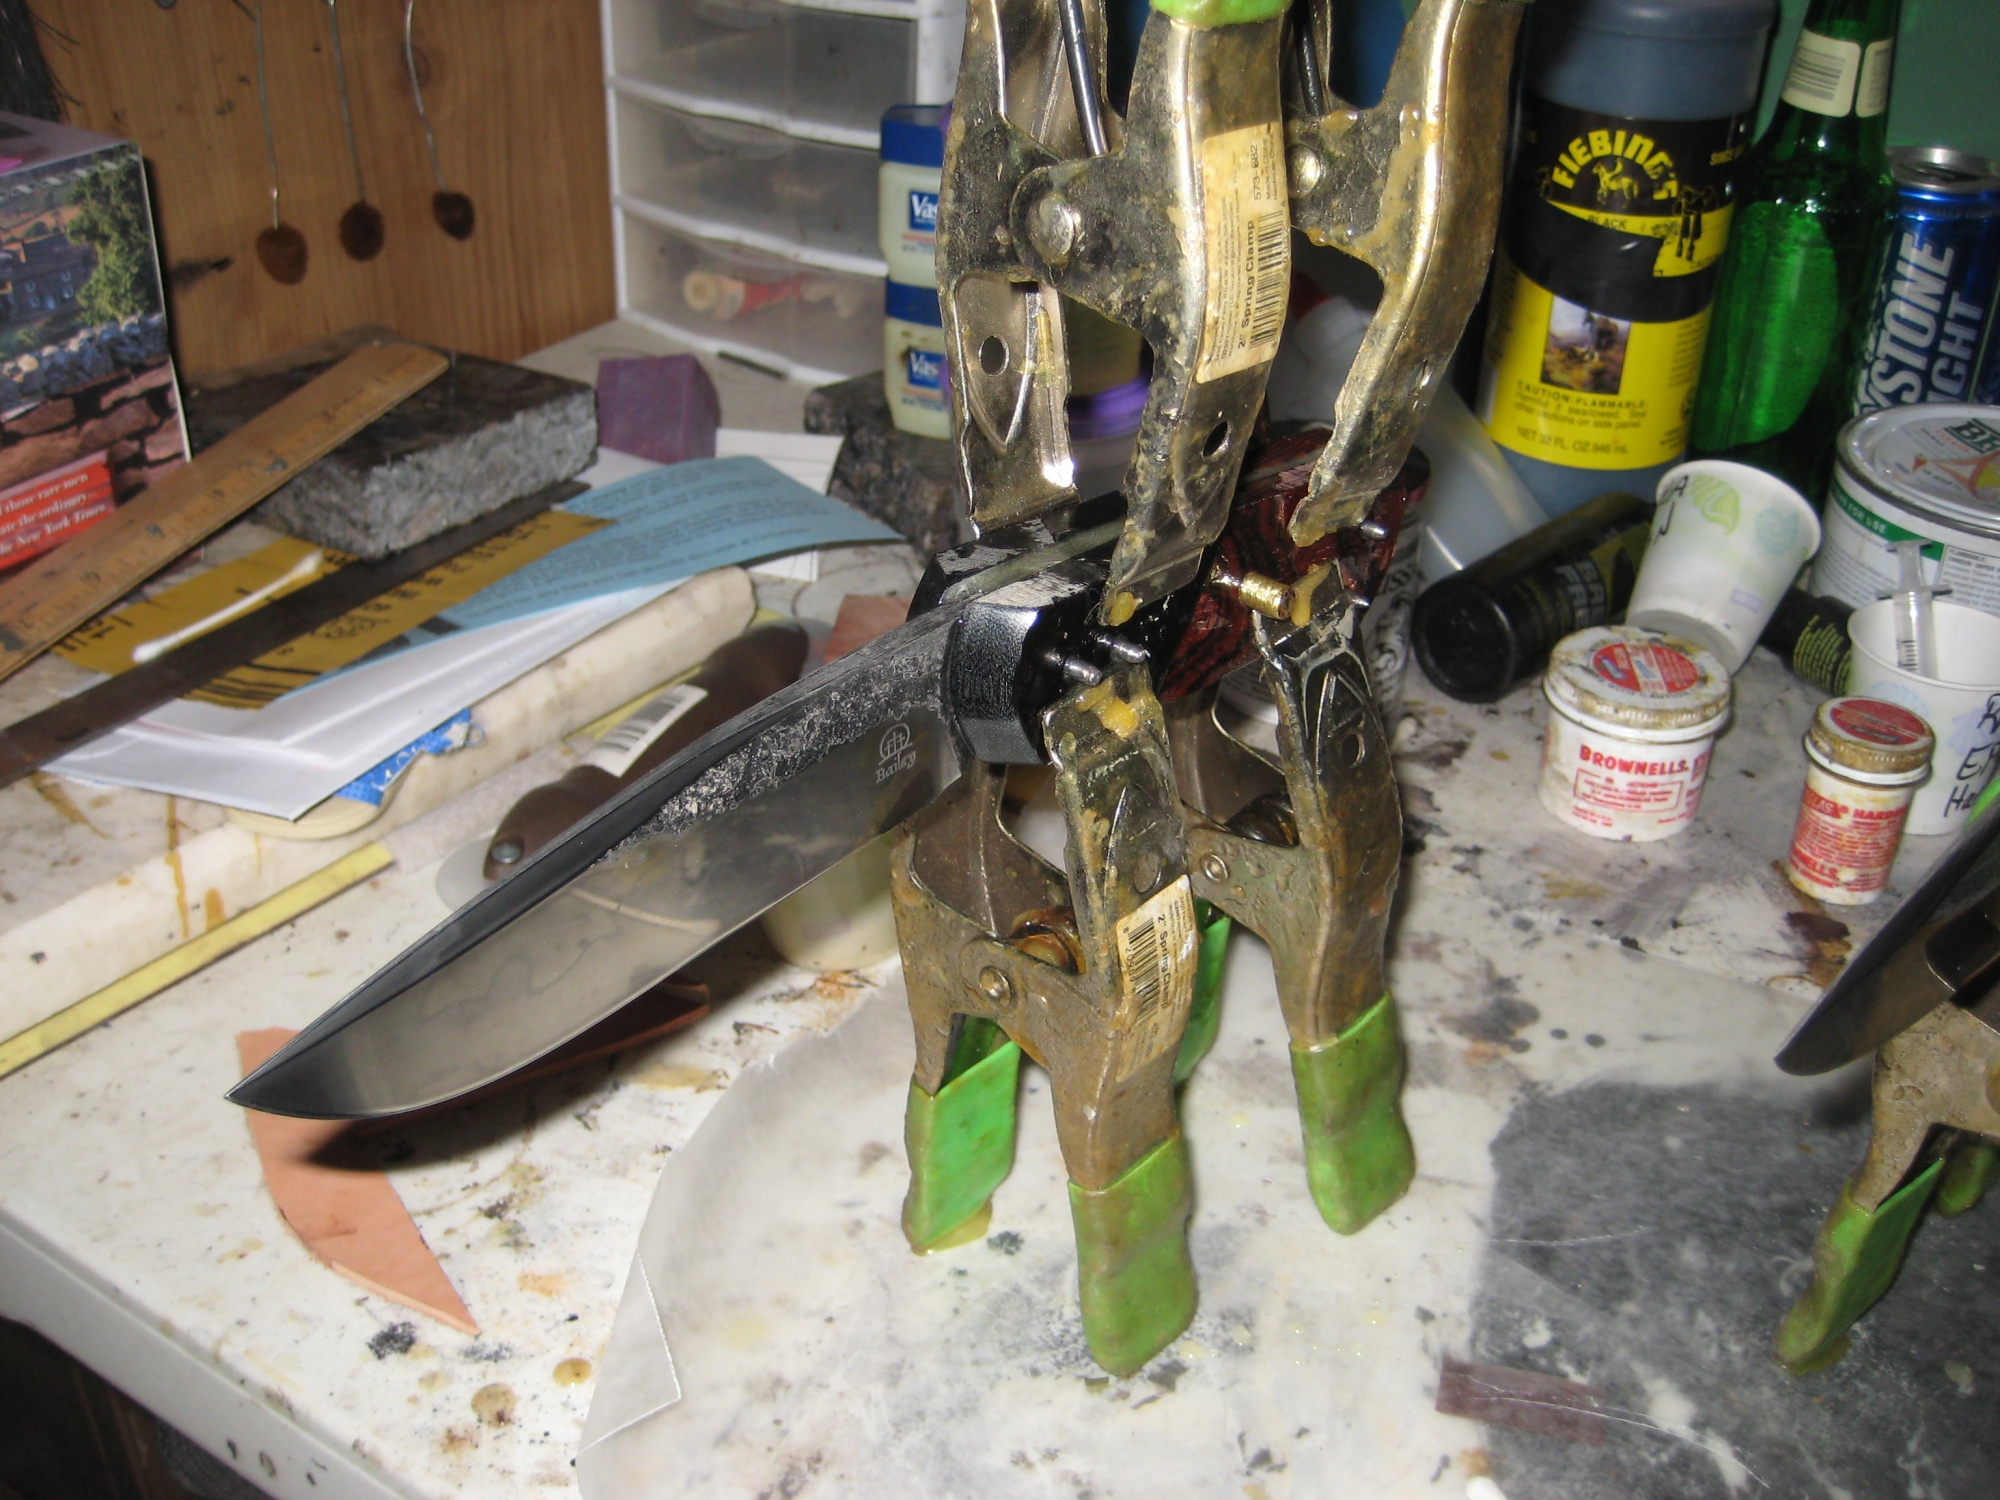
In this picture I am fitting up the cocobolo of the handle to the linen bolster. I clamp the bolsters down so they dont move, butt the handle up nice and tight, then clamp it with vise grips and drill the holes.

Now I just trim off the excess on the bandsaw.

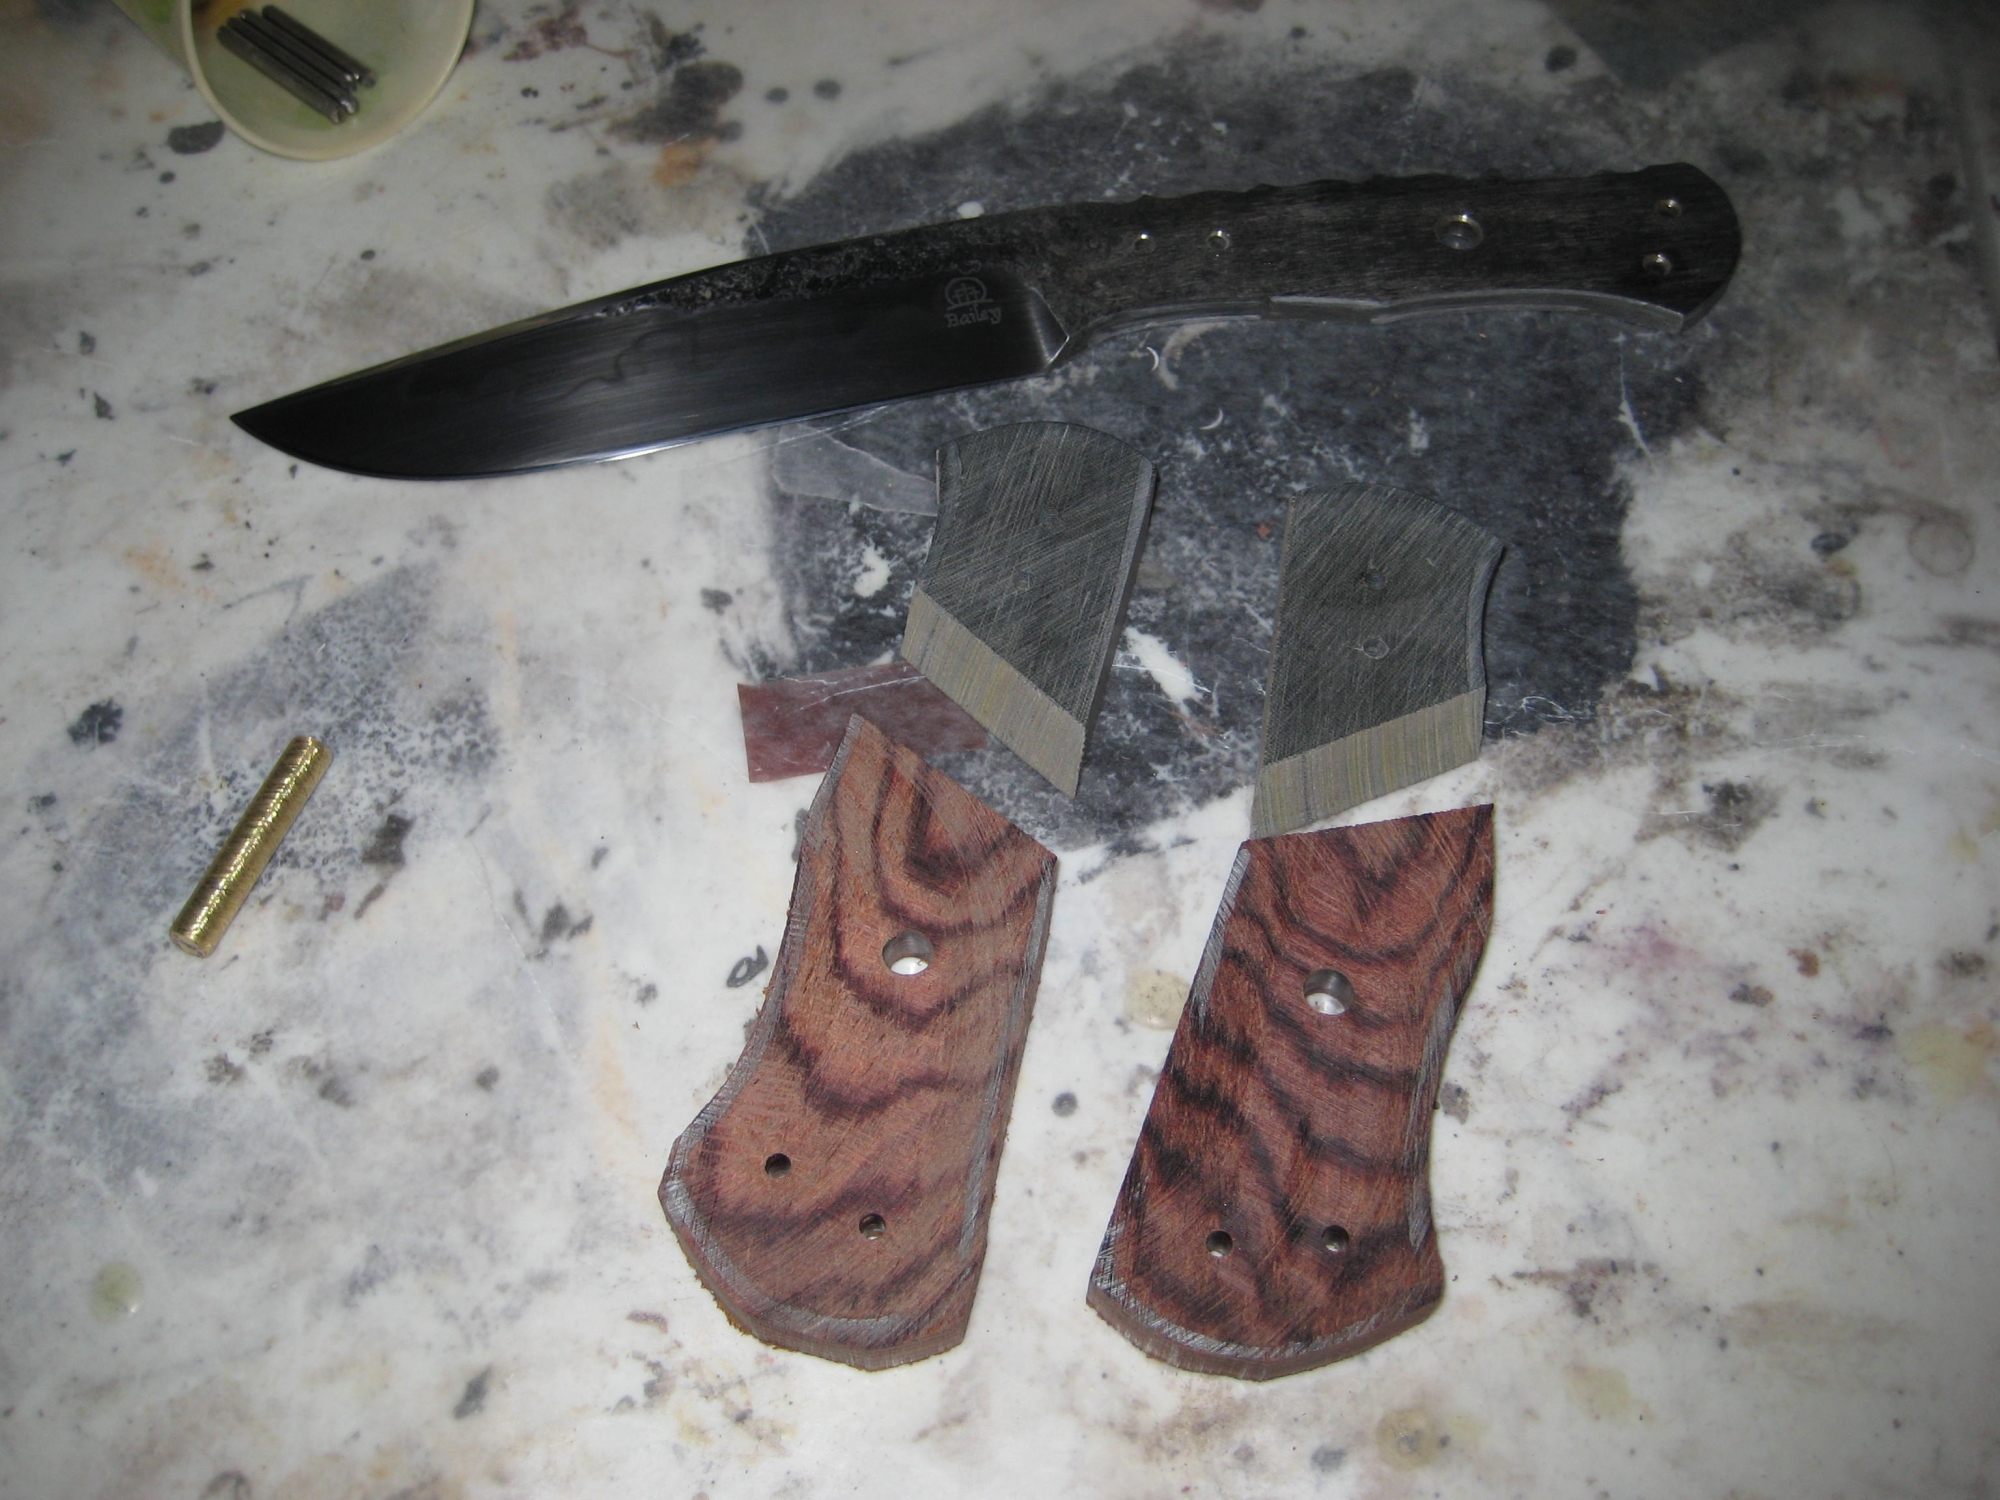
I have to sand and polish the front of the bolsters before I put them on the knife, it is about impossible to clean them up after they are on the knife. Here they have been sanded to about 600 grit, then buffed.
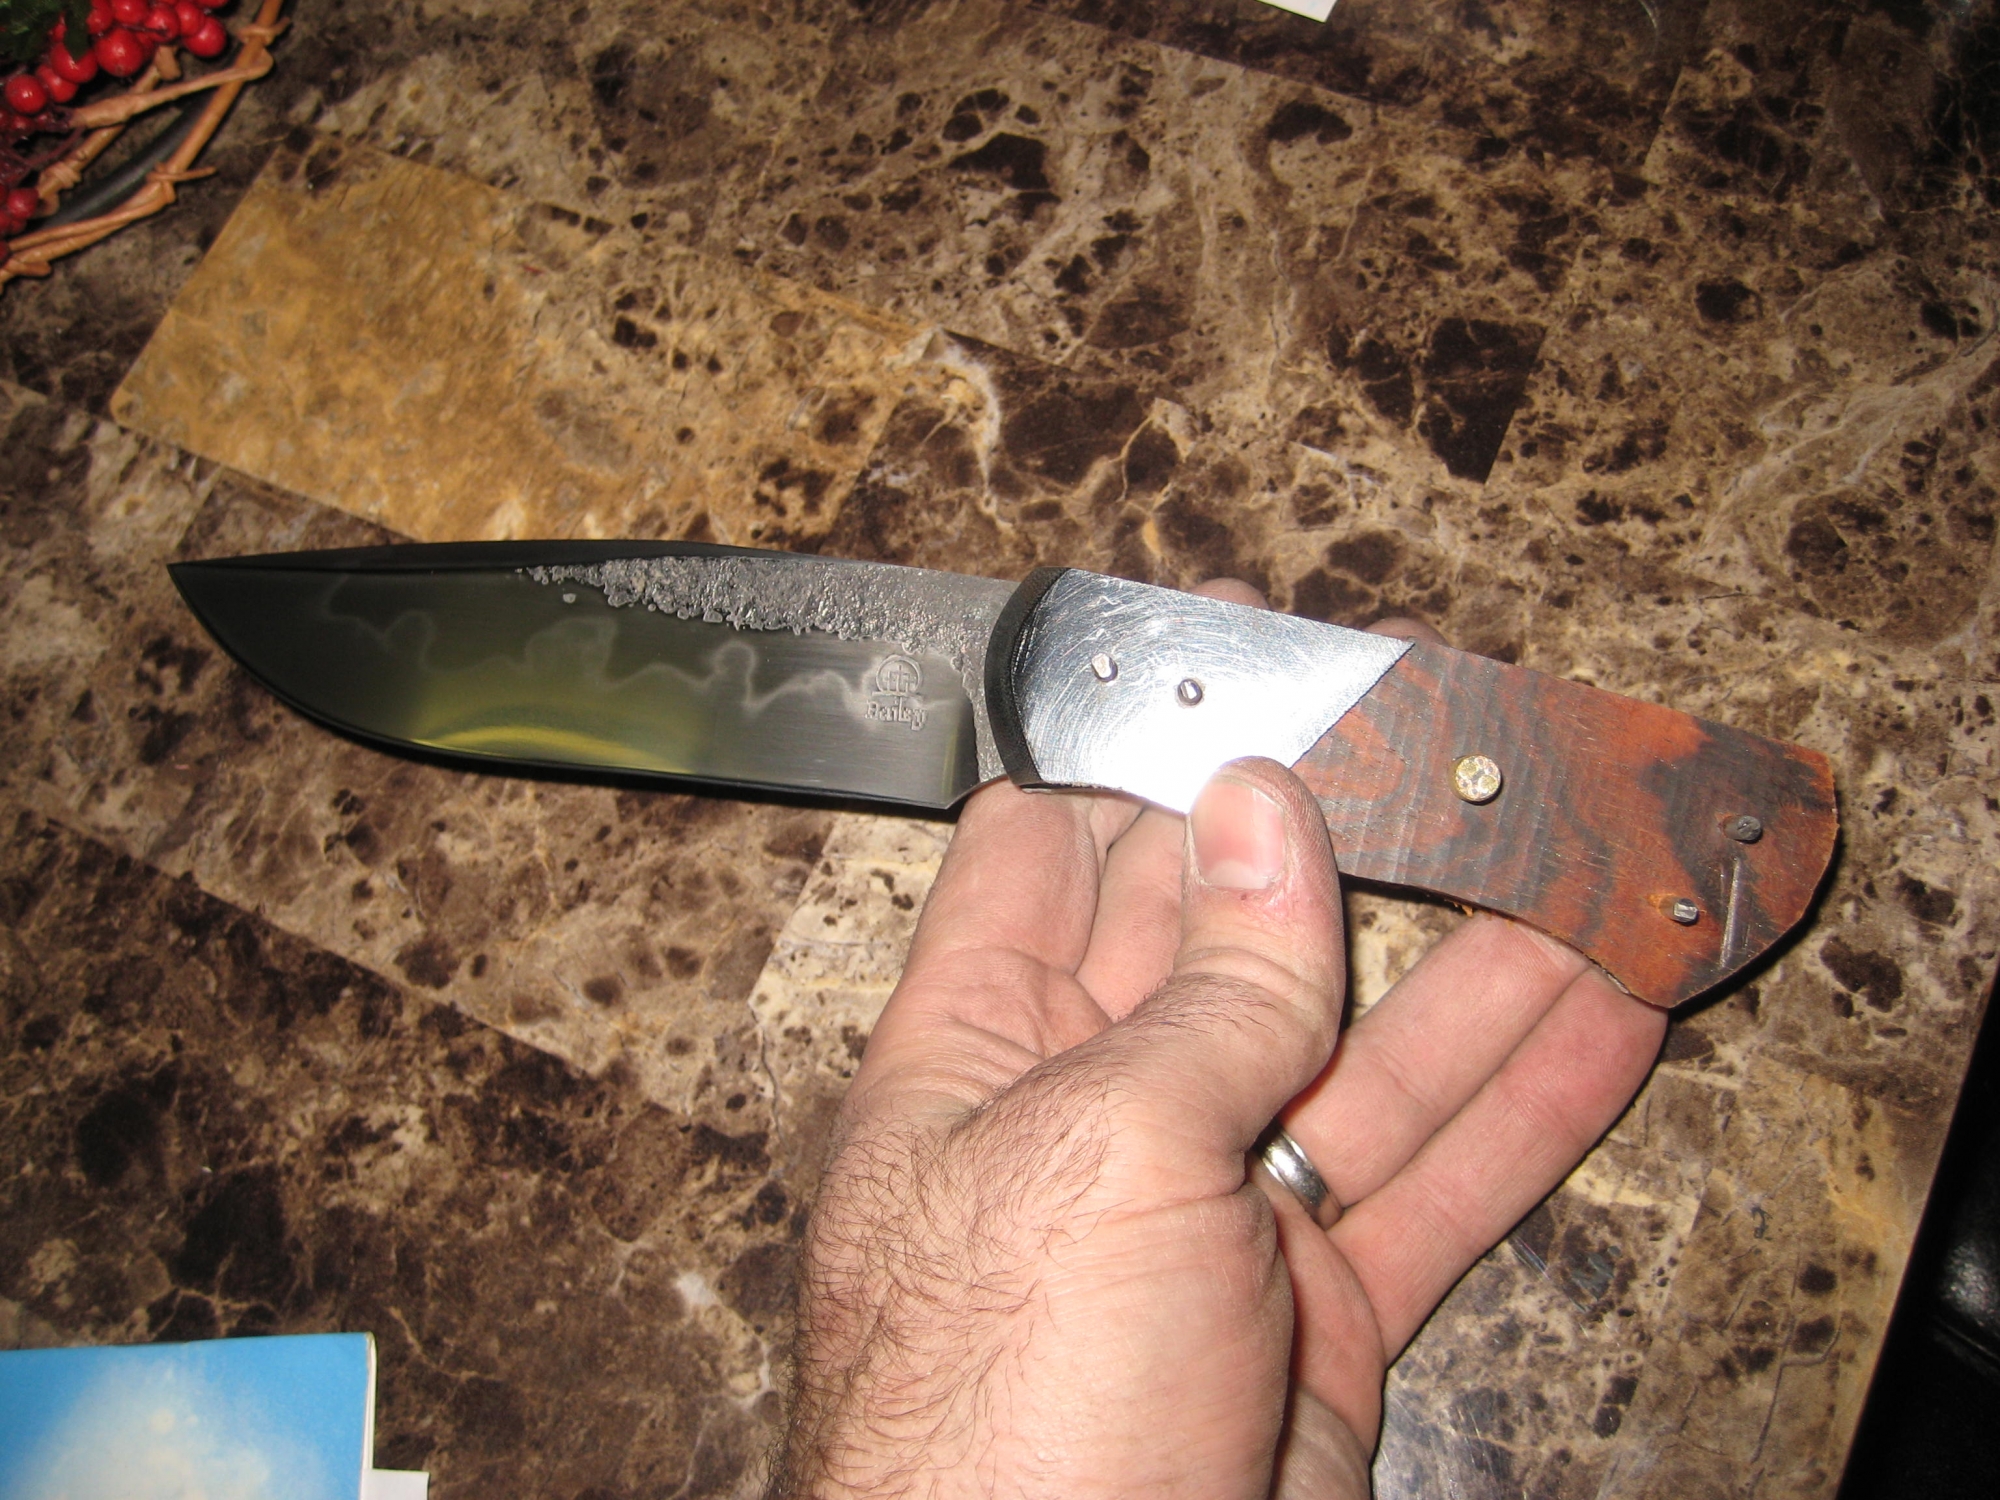
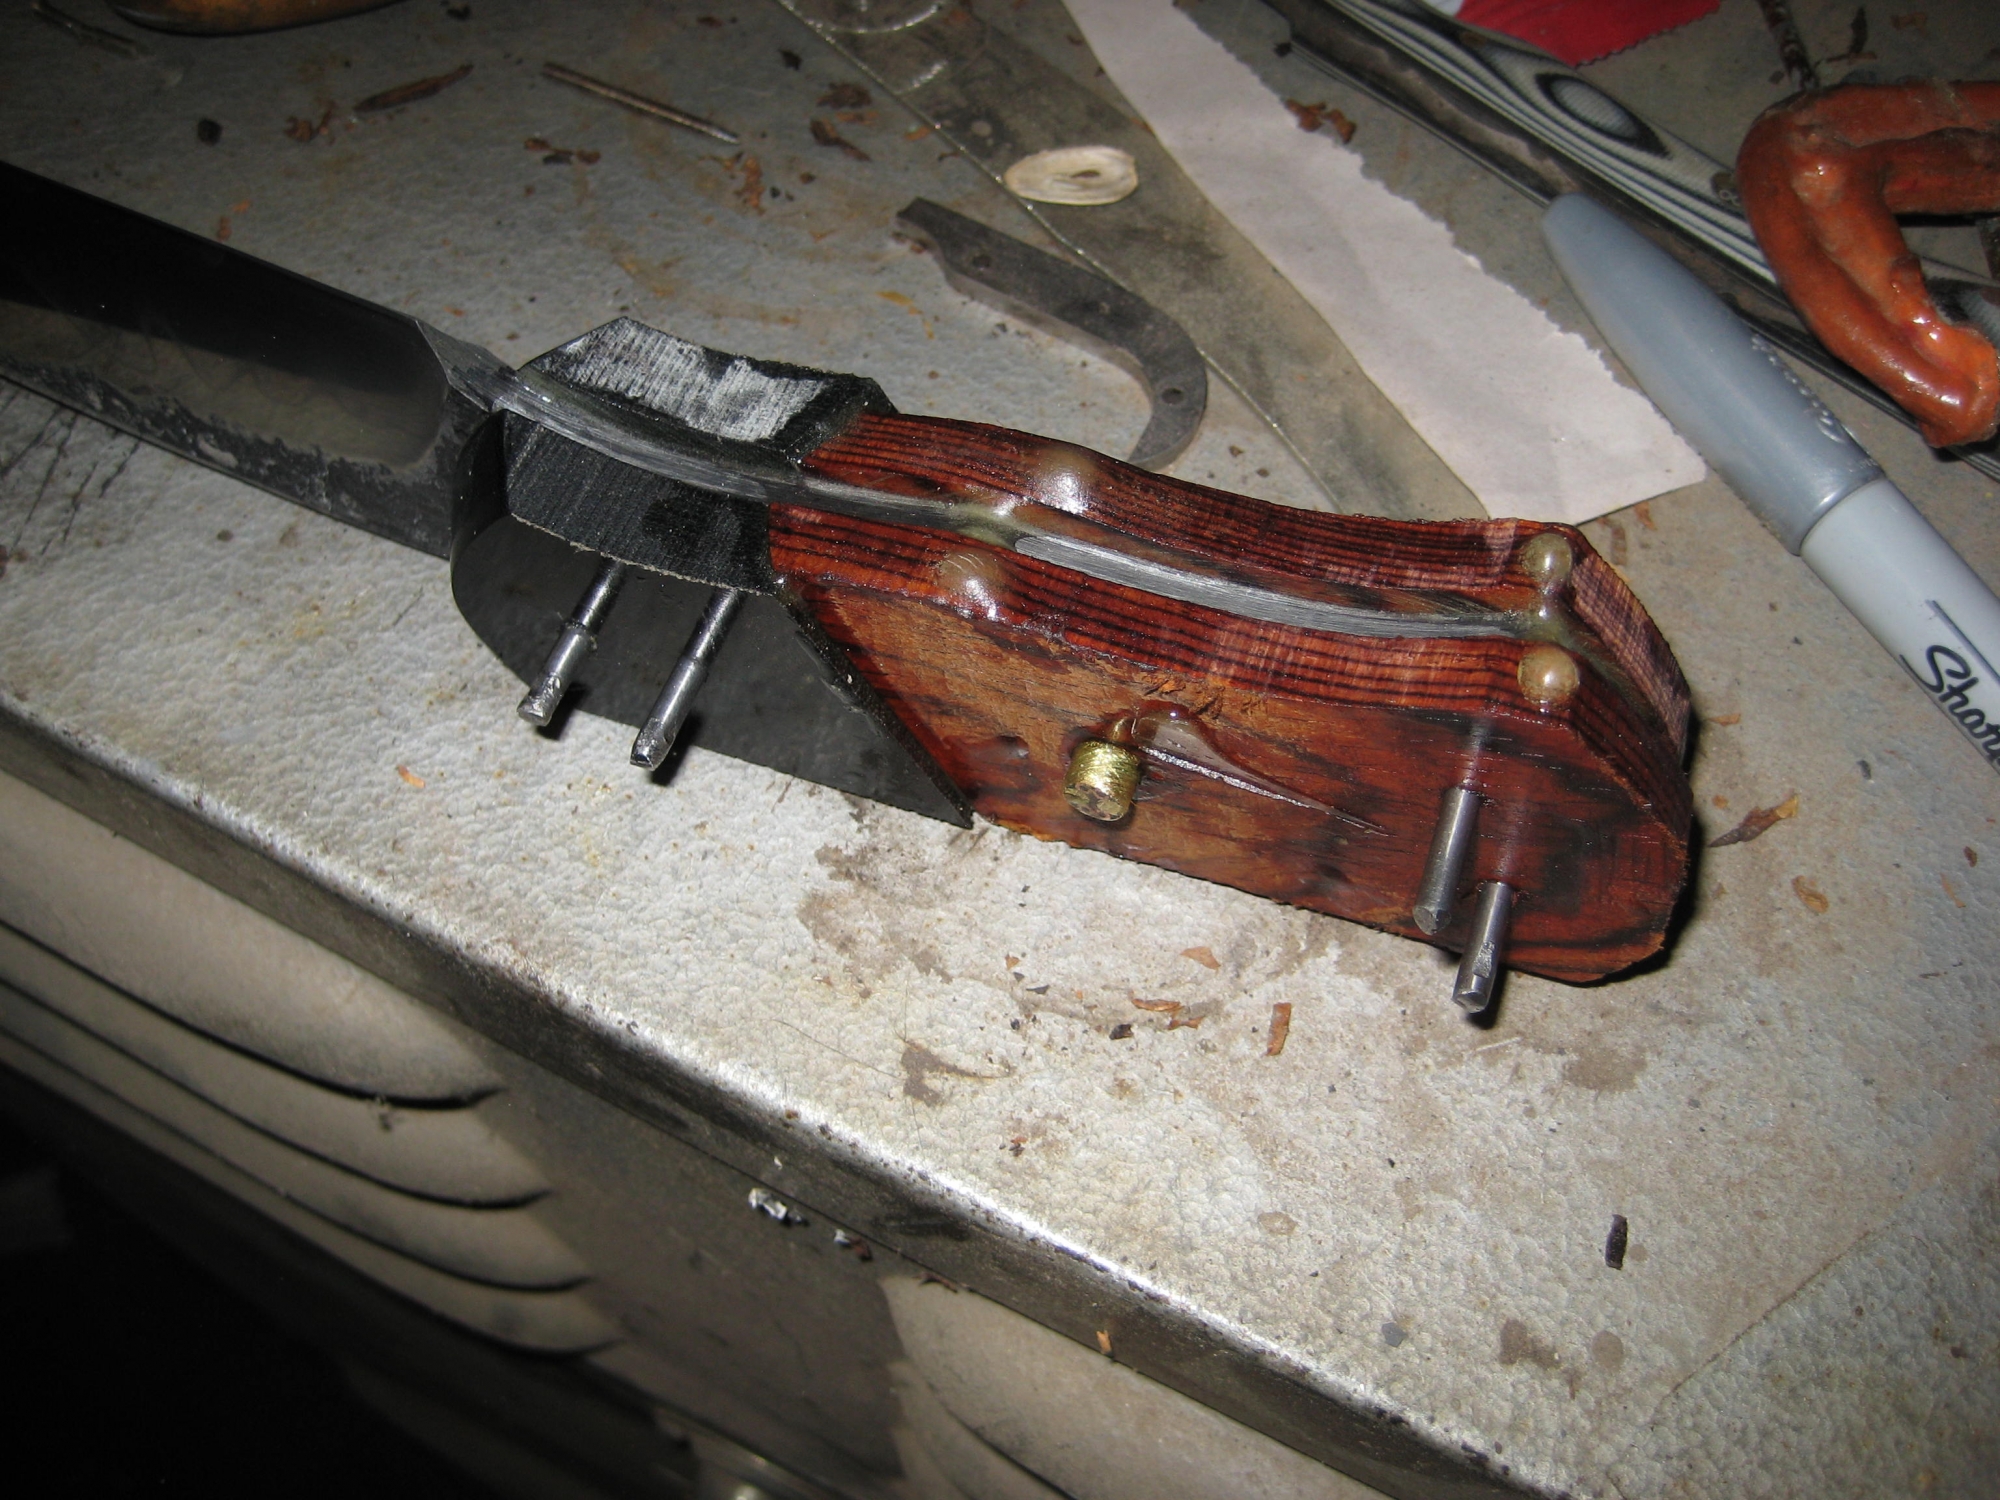
I now have it all fit up, no gaps. I will be taking it in to glue it all together. I use temporary pins while gluing, I coat them with a light oil. When it is all epoxied together, I tap them out with a hammer, shape the handle countersink the holes and peen them over. You will see all of this later.
All cleaned up and ready for the glue. You can see the pins in the cup with the light oil.
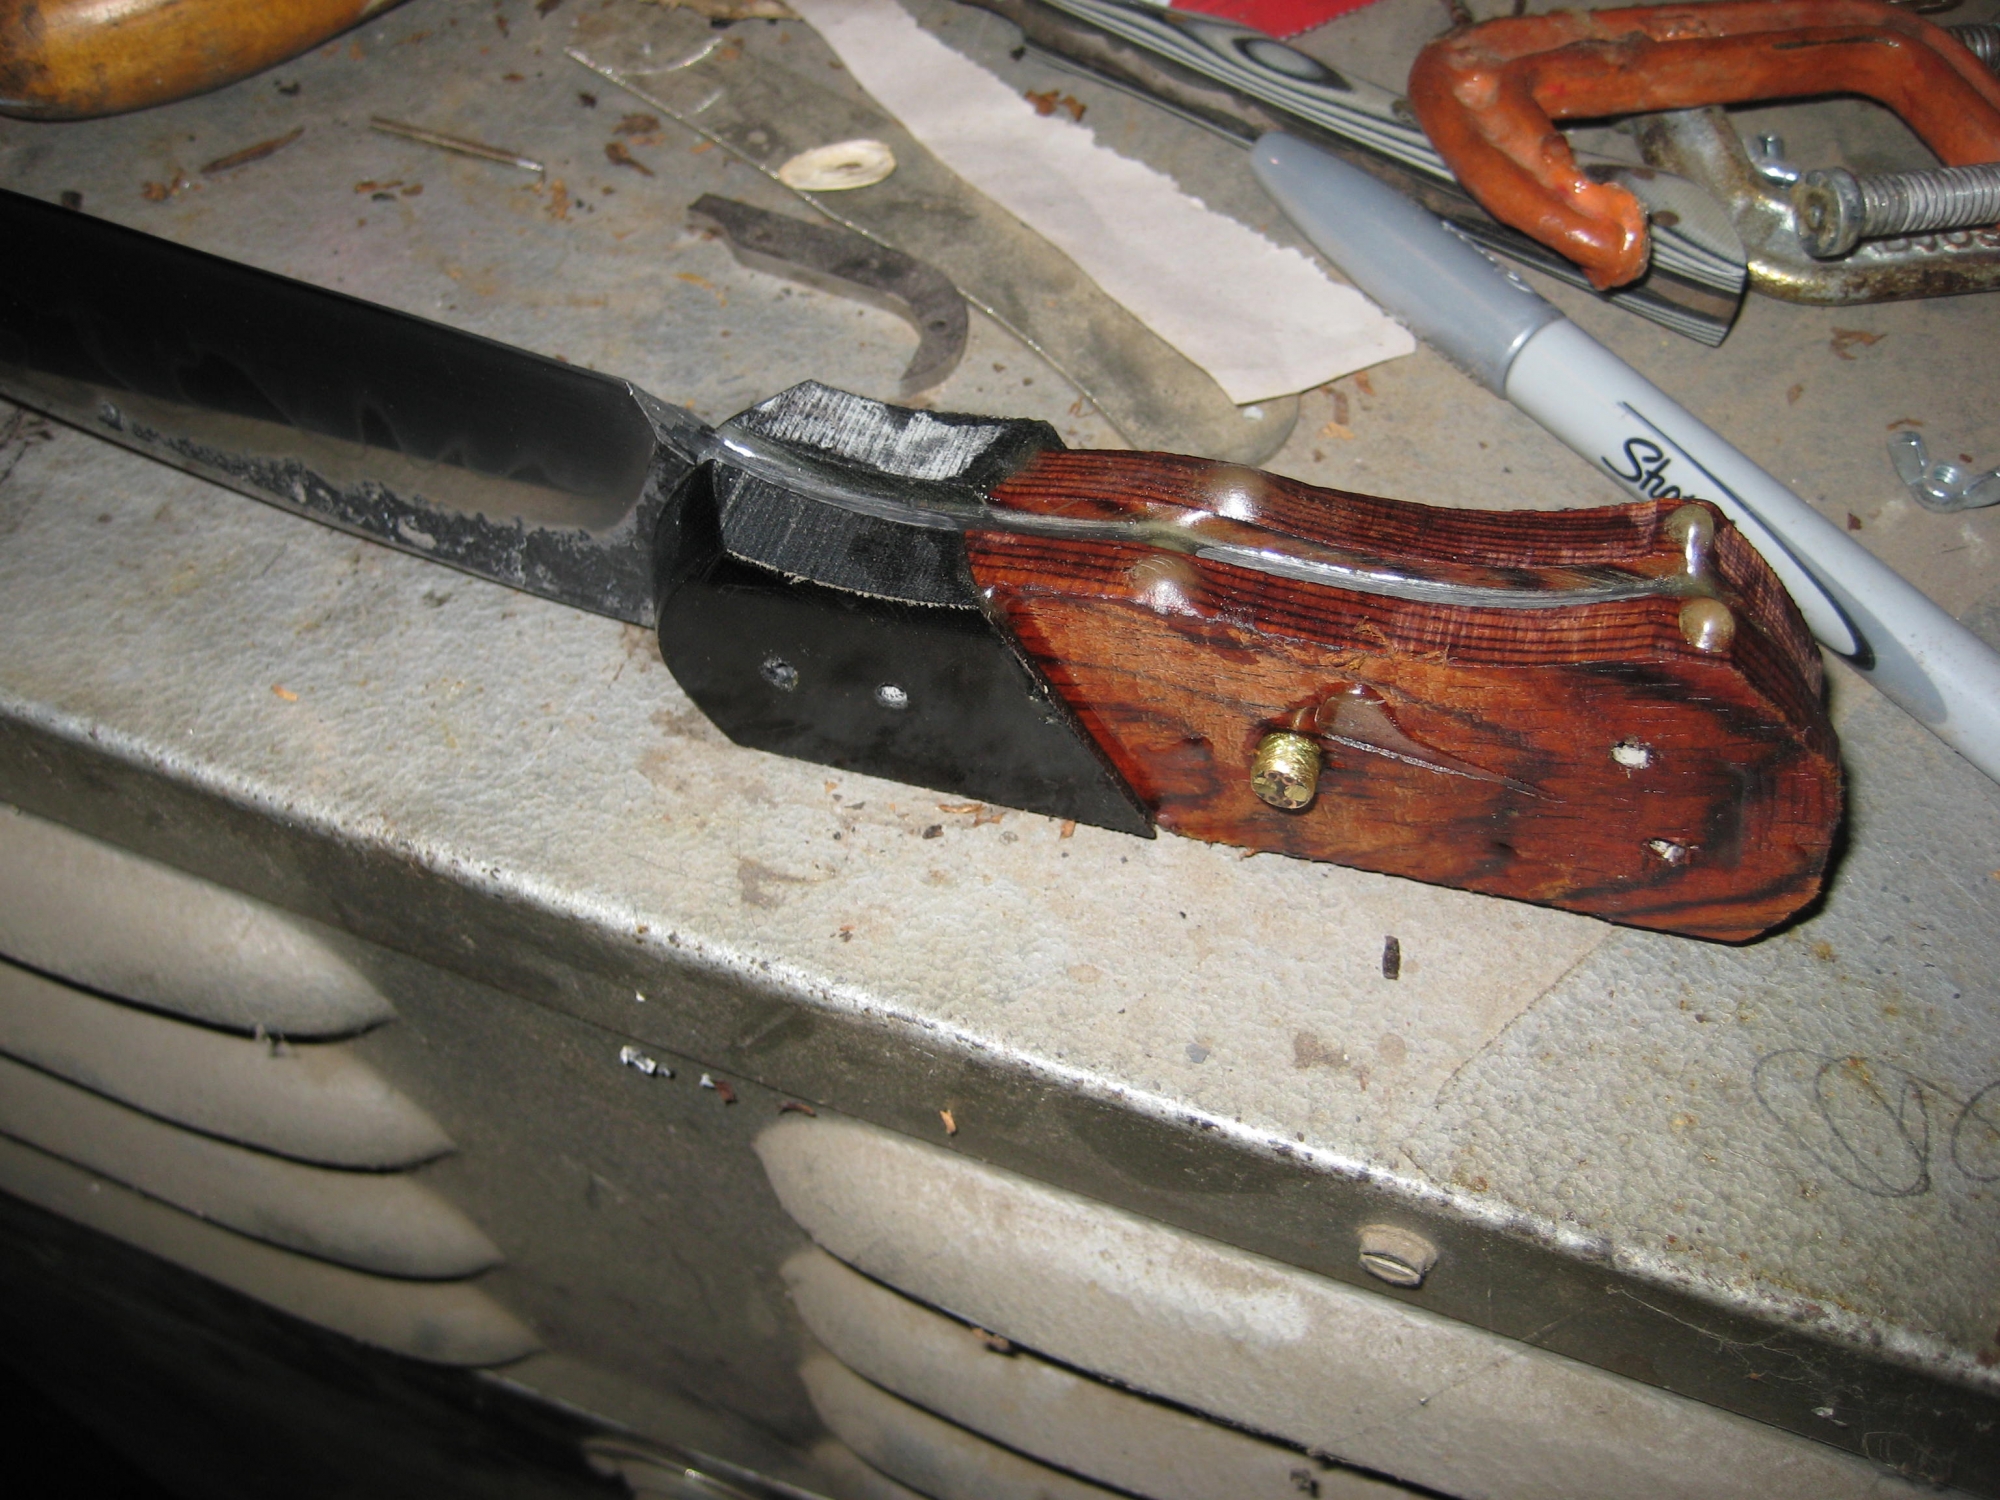
Clamped and epoxied. I will let it sit like this for a day or two, then begin to shape and sand the handle.
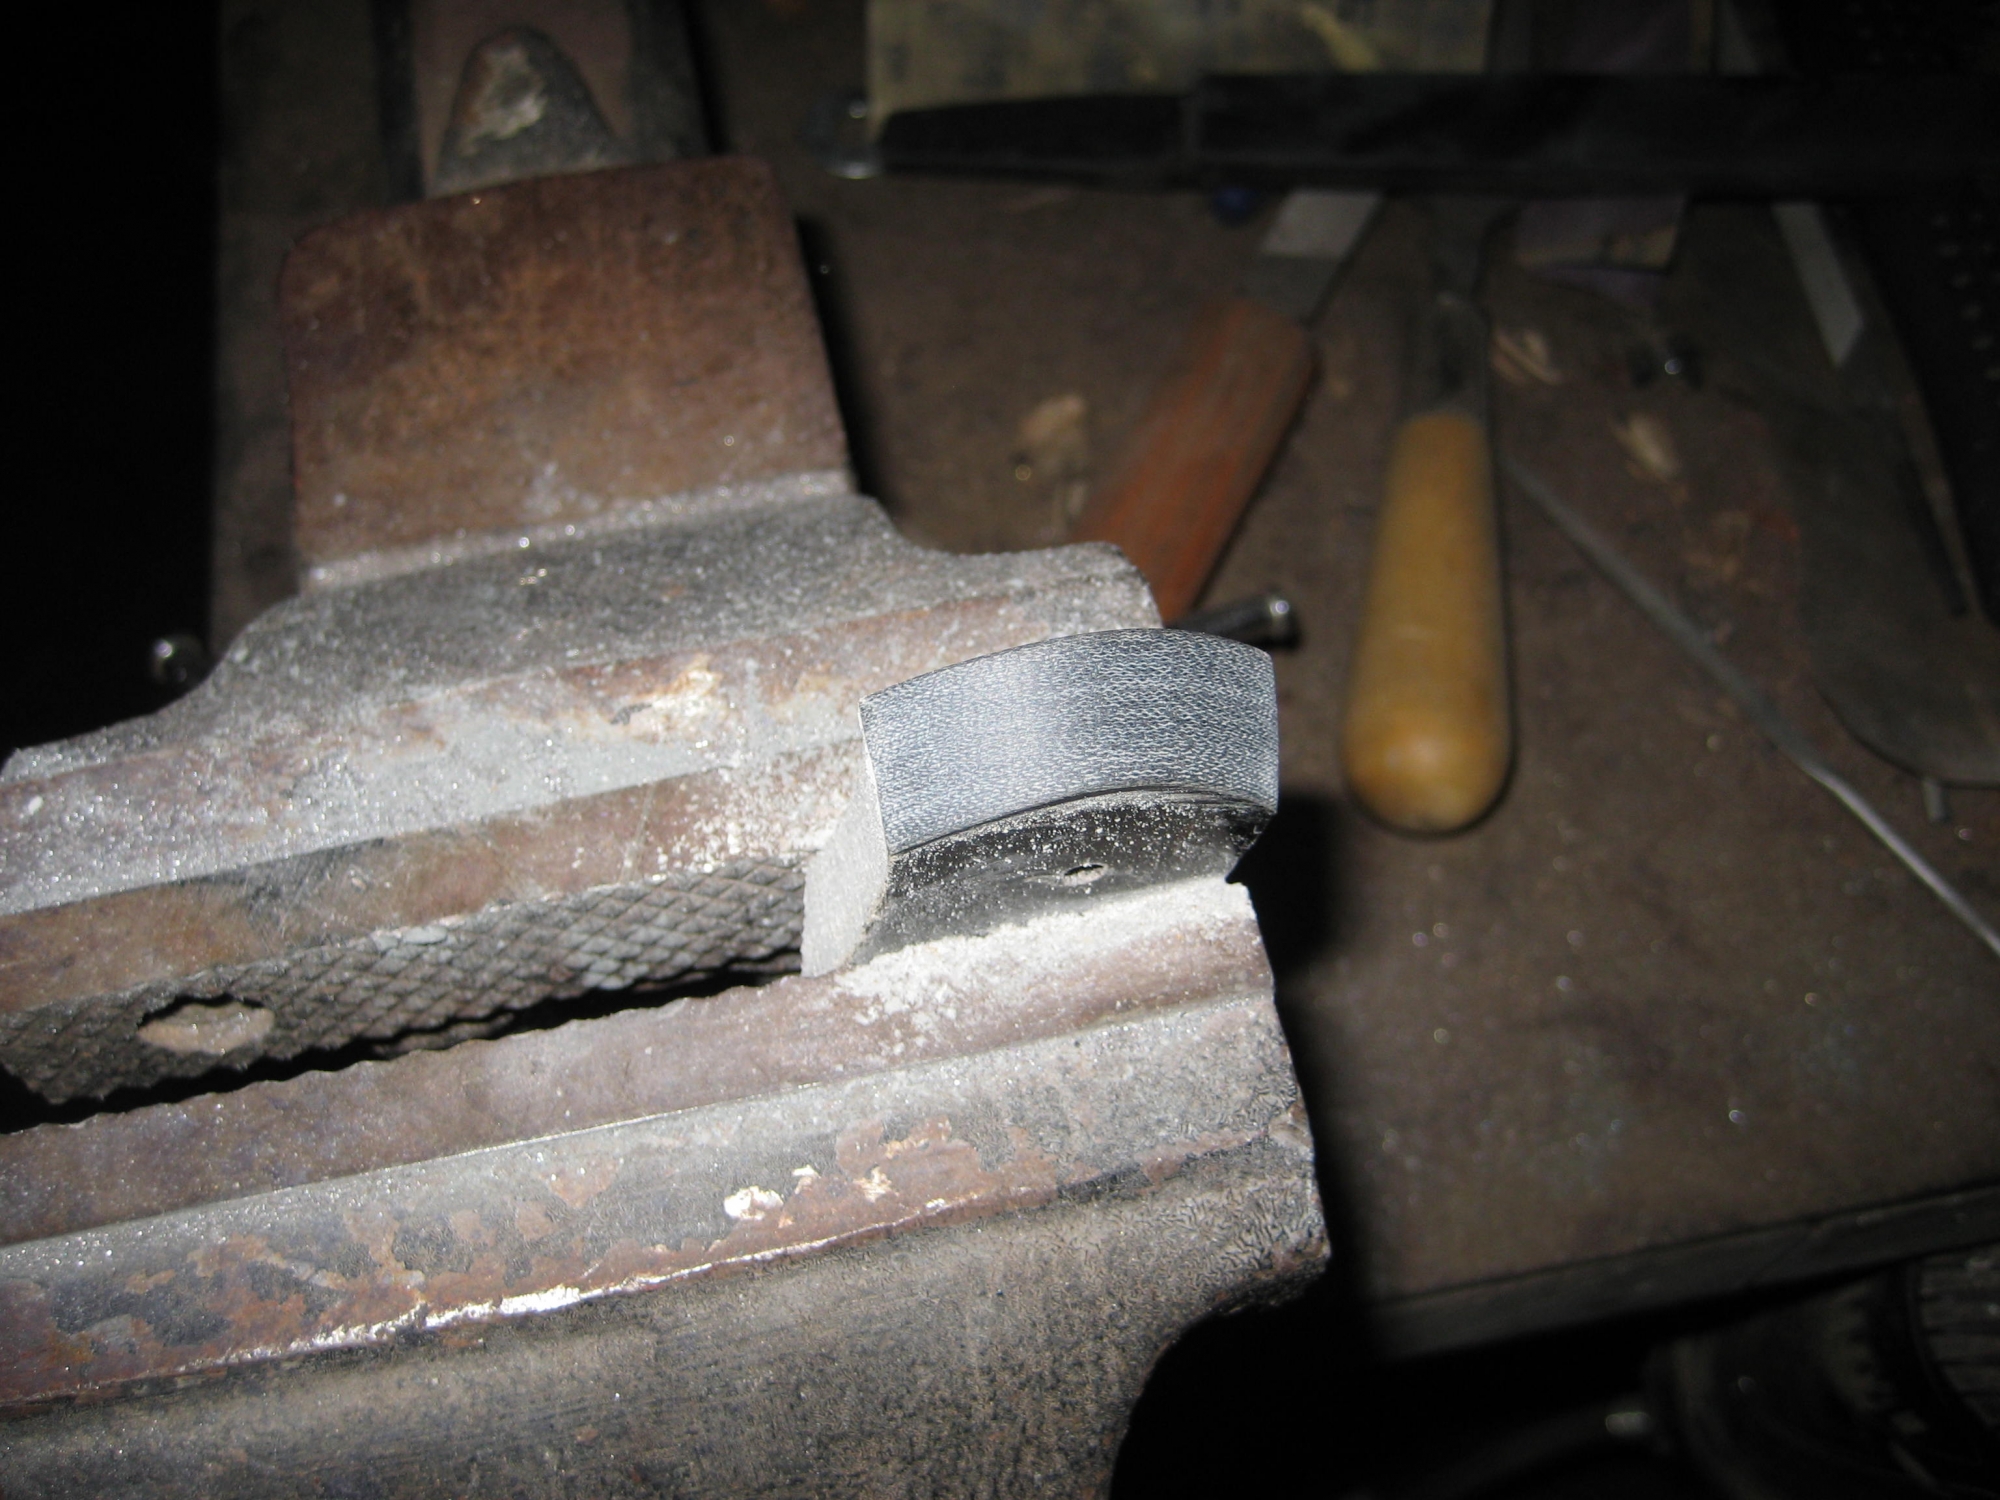
In this shot, the removable pins are still installed. I will give them a tap with the hammer and then use a set of vise grips to pull them out. The vise grips belonged to my Gramps Moore. He purchased some quality tools also.
In this shot, I have pulled all of the removable pins. Now I will rough sand the handles and countersink the holes slightly so that the permanent pins I put in will be able to be peened to hold it all together.
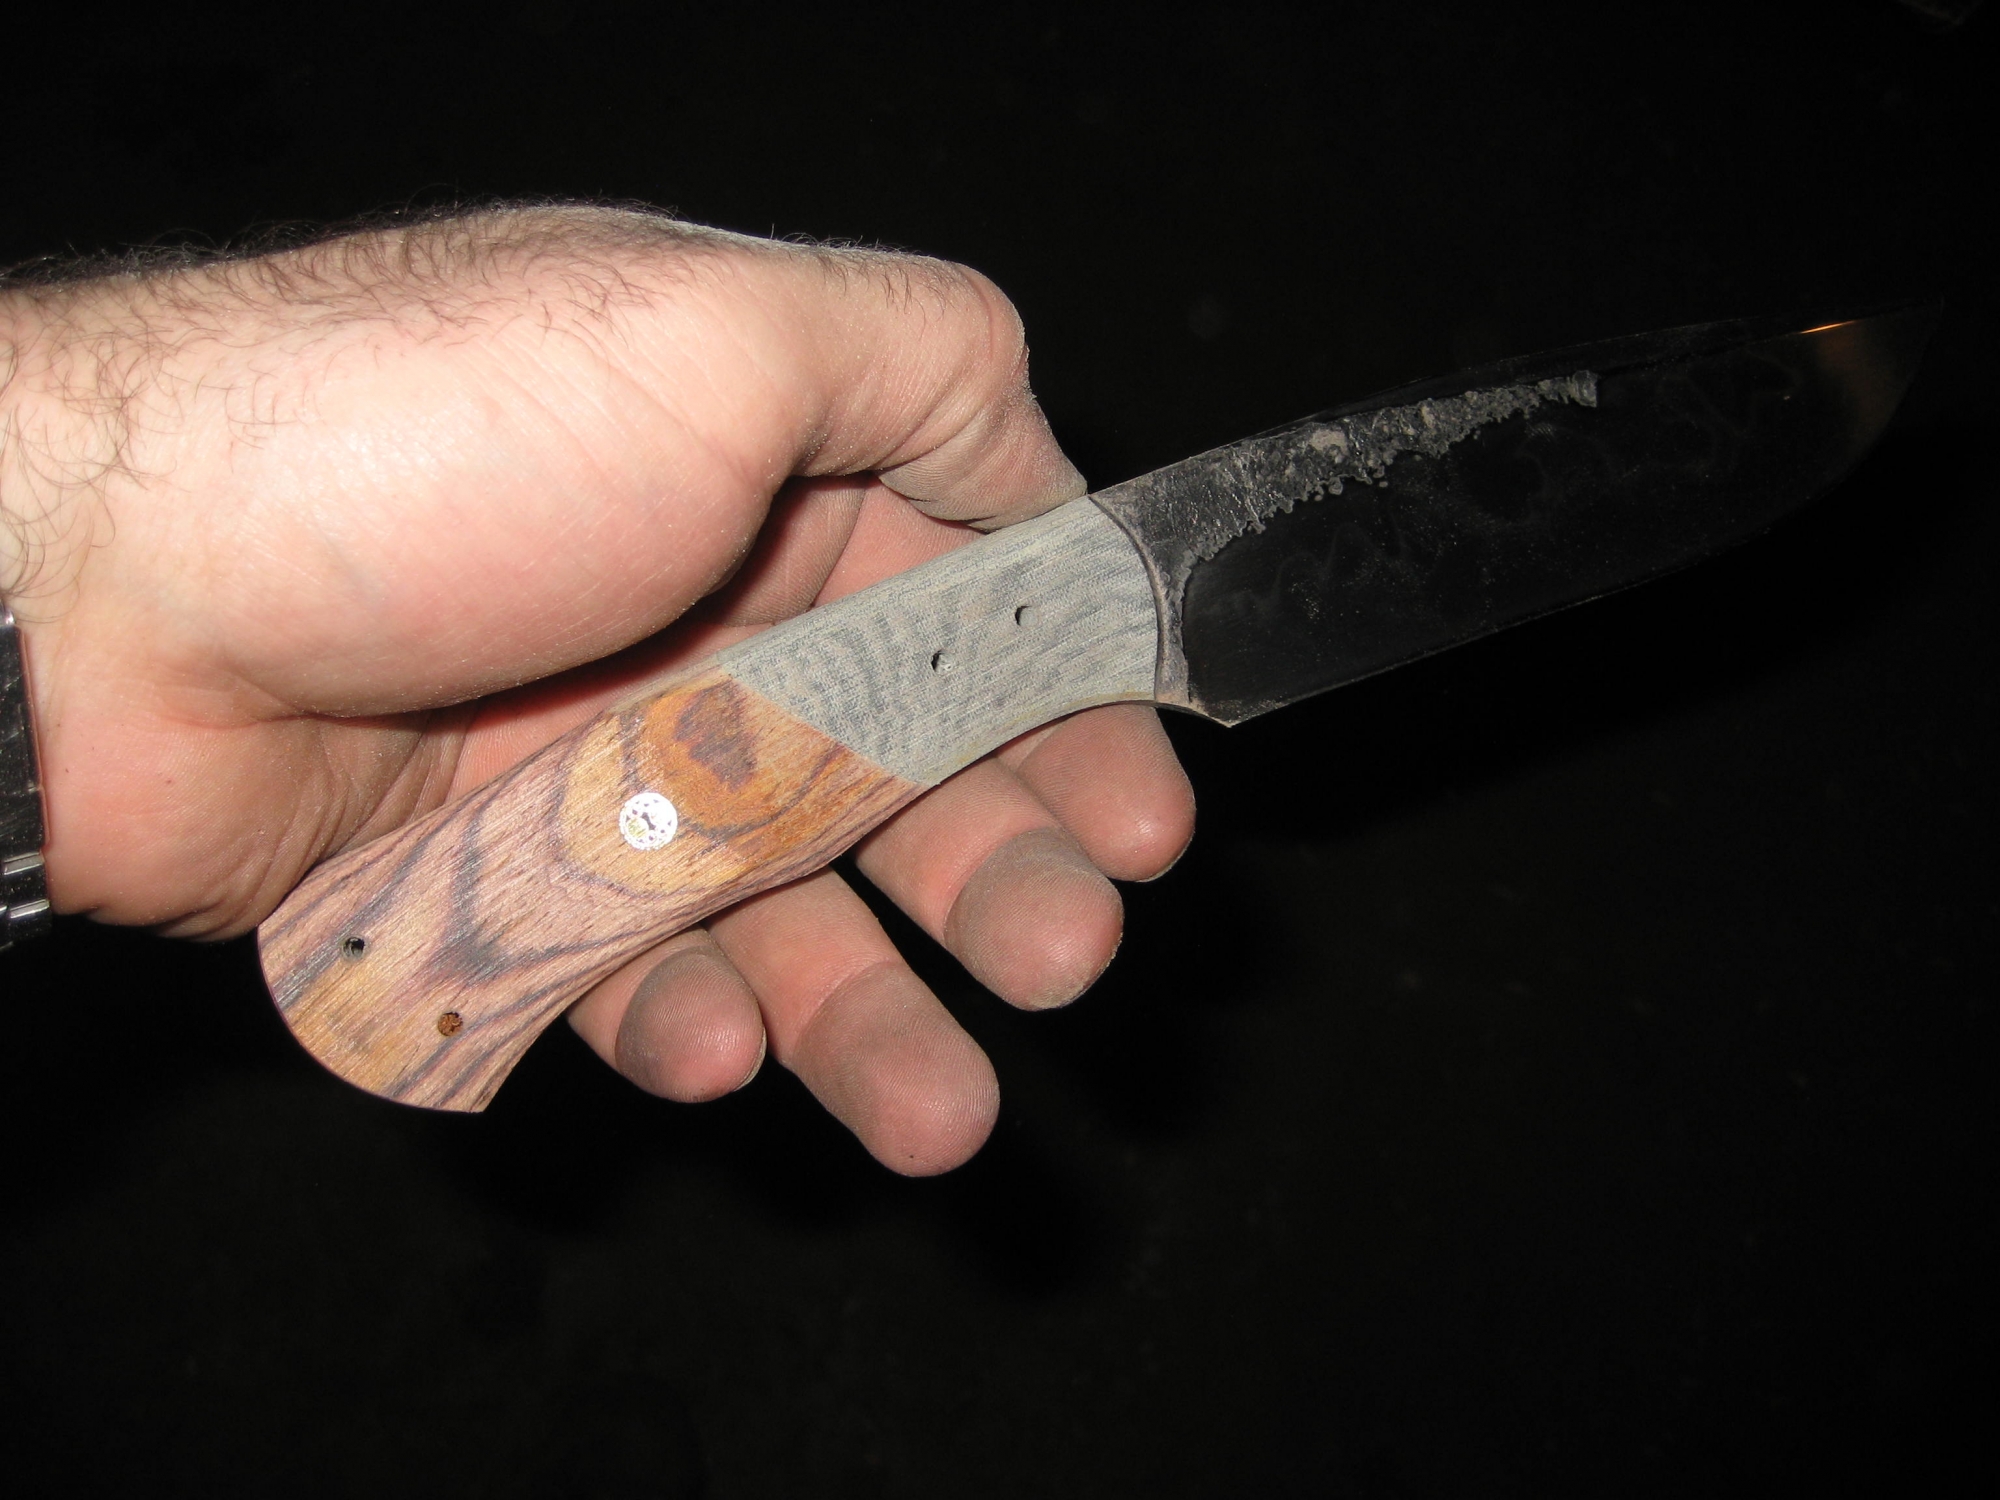
Once the pins are out, I can begin to shape the handles. I use my KMG for most of this. The 10" wheel for the basic palm swells, and the regular platen 2" wheels for the belly and finger curve.
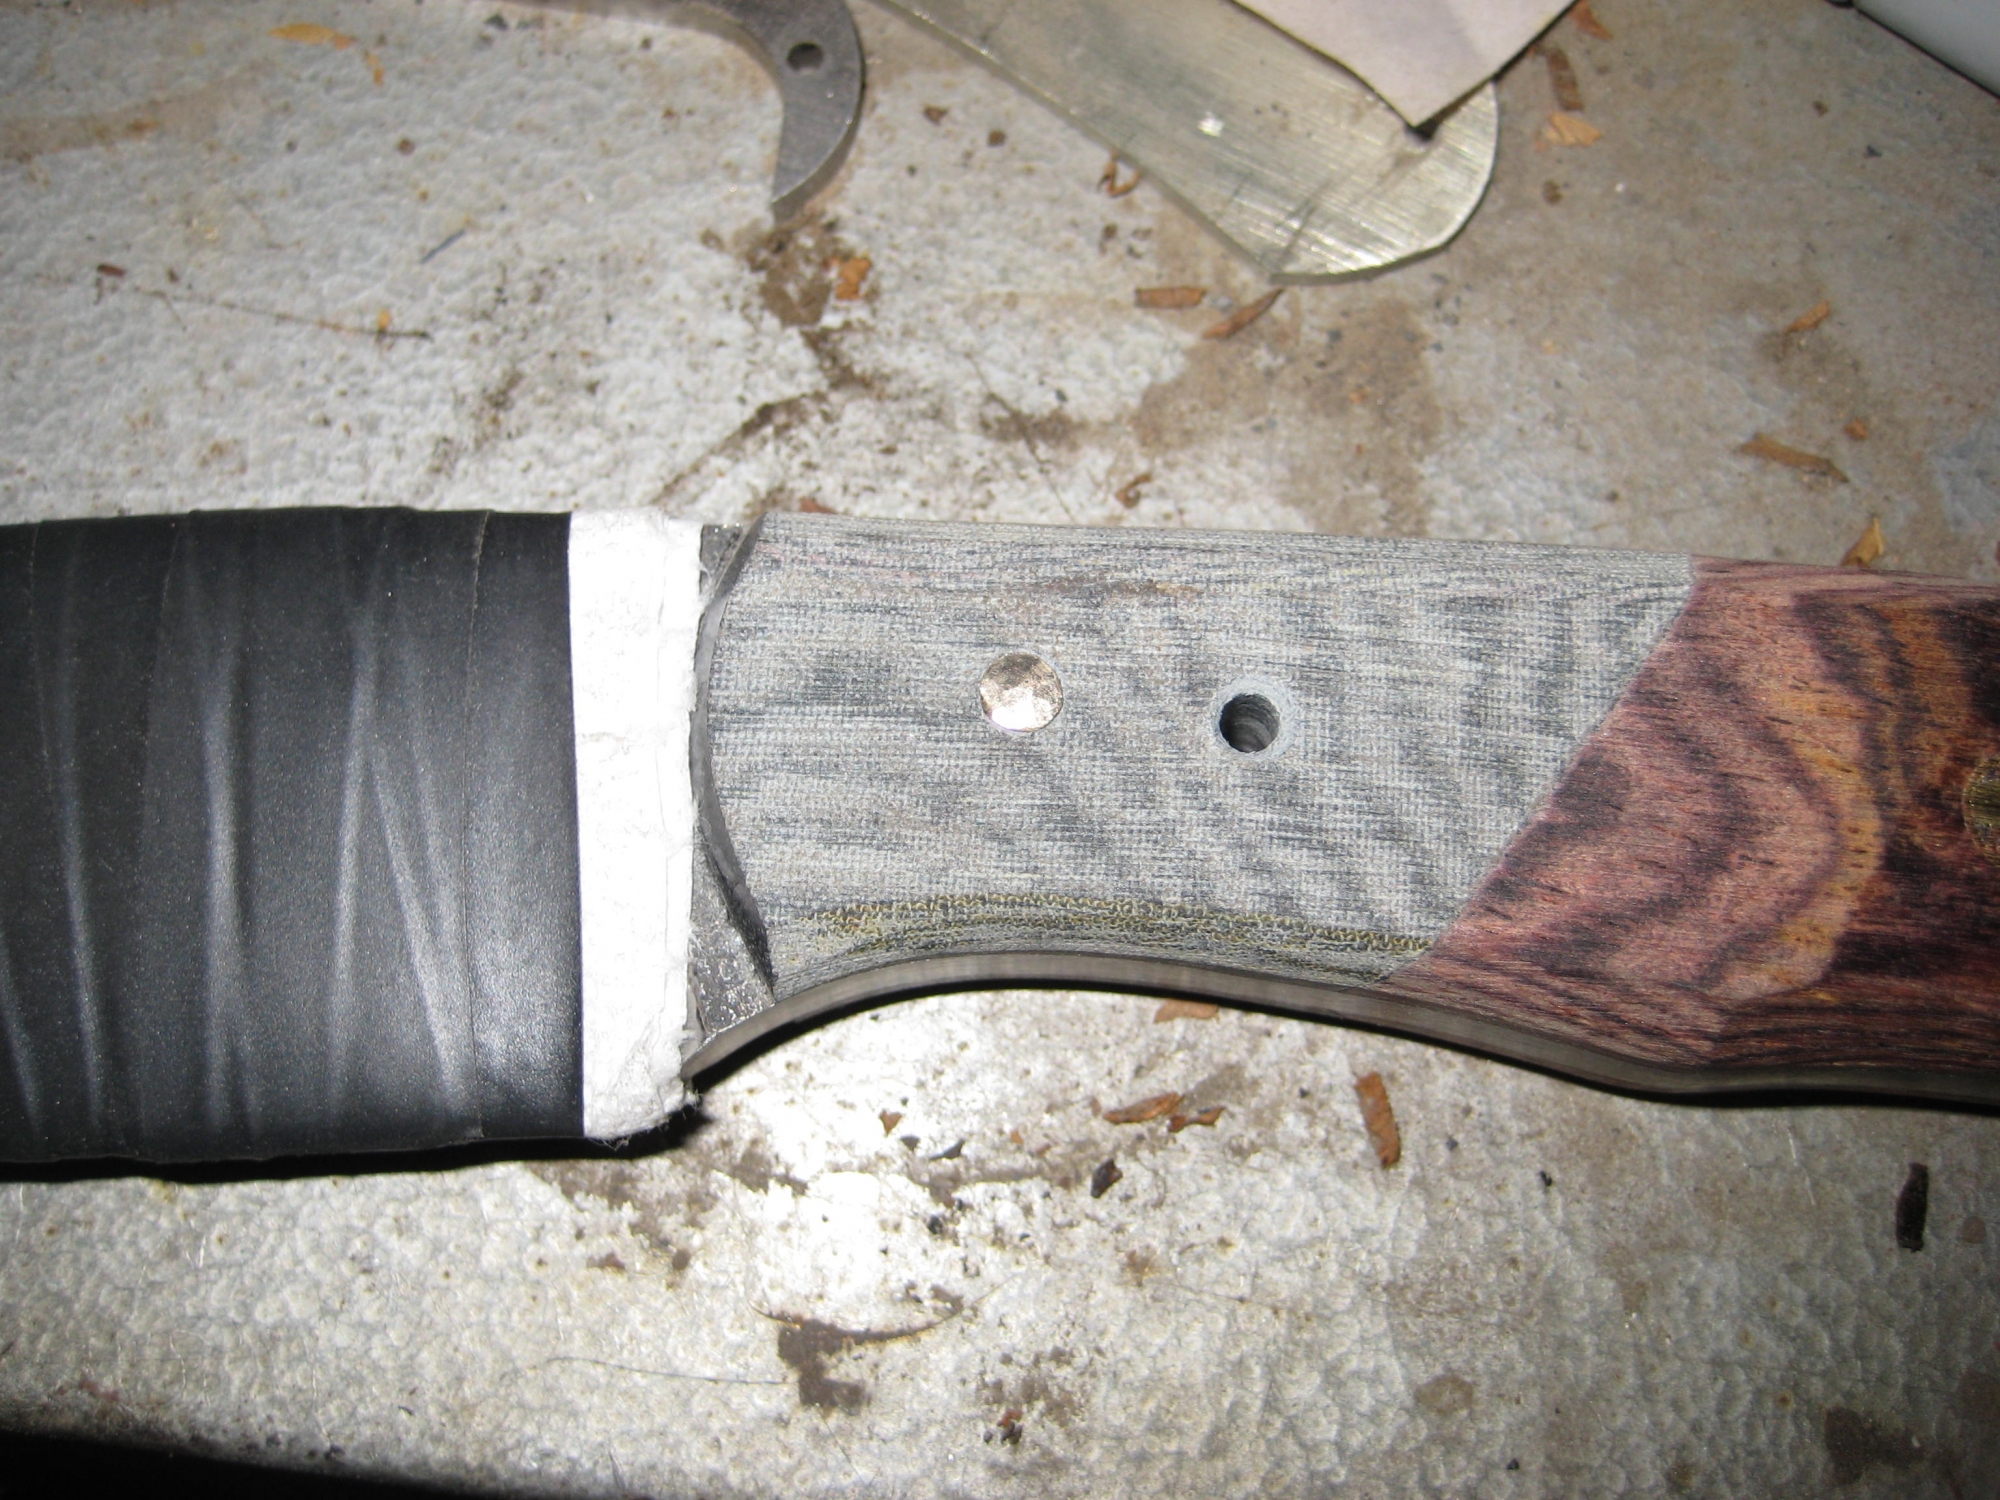
Here is the first peened pin in the bolster. I use 1/8" brazing rod for pin material. I acutally anneal it first. It anneals the opposite of steel, instead of letting it cool slowly, you quench it to soften it. If you do that will carbon steel, it becomes hard and brittle. Notice I take the blade and wrap it in a paper towel, then in electrical tape. It keeps me from scratching the finish I just took an hour to achieve.