I have had several
people ask me to do a WIP for sheaths. I am sure Paul Long could do
this 1000 times better, and he actually has... Most of the stuff
that you will see here will be information that is taken in one
form or another from Paul's "basic pouch sheath" dvd, which I
highly recommend. My wife actually bought me his "advanced sheath"
dvd for Christmas, and although it is the season of giving, she
wont let me preview it now. Anyways, feel free to watch as I add to
this WIP, however, if you want to really make great sheaths, I
can't recommend Paul's dvd enough.
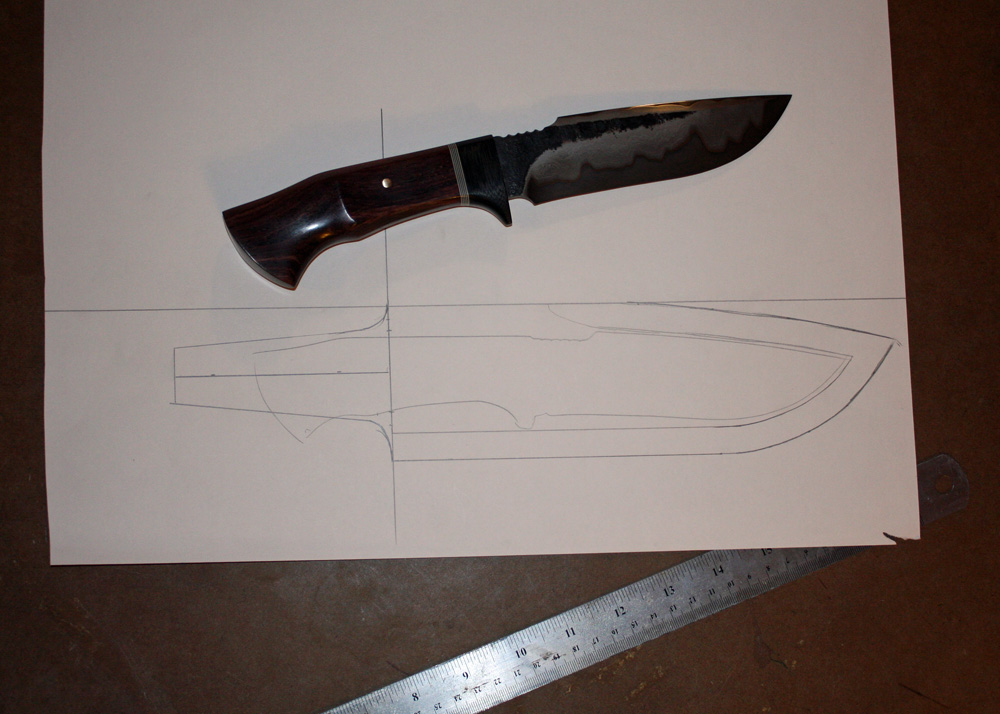
So I make a pattern for
nearly every knife I make. I started doing it on graph paper until
I ran out, but now I just do it on regular drawing paper. That
large graph paper is kind of hard to come by. I keep all my welts
at 1/2" (as per Paul Long) and do some work later that will allow
me to see from the outside where the welt ends. I hand stitch all
my sheaths, although an Artisan 3000 is my next major
purchase.
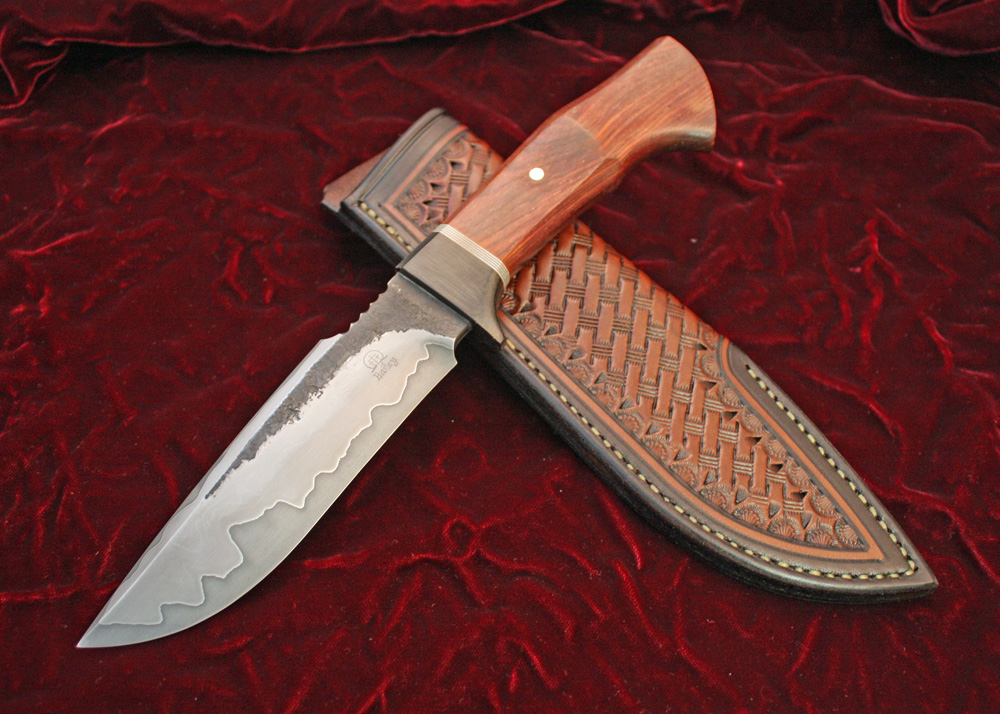
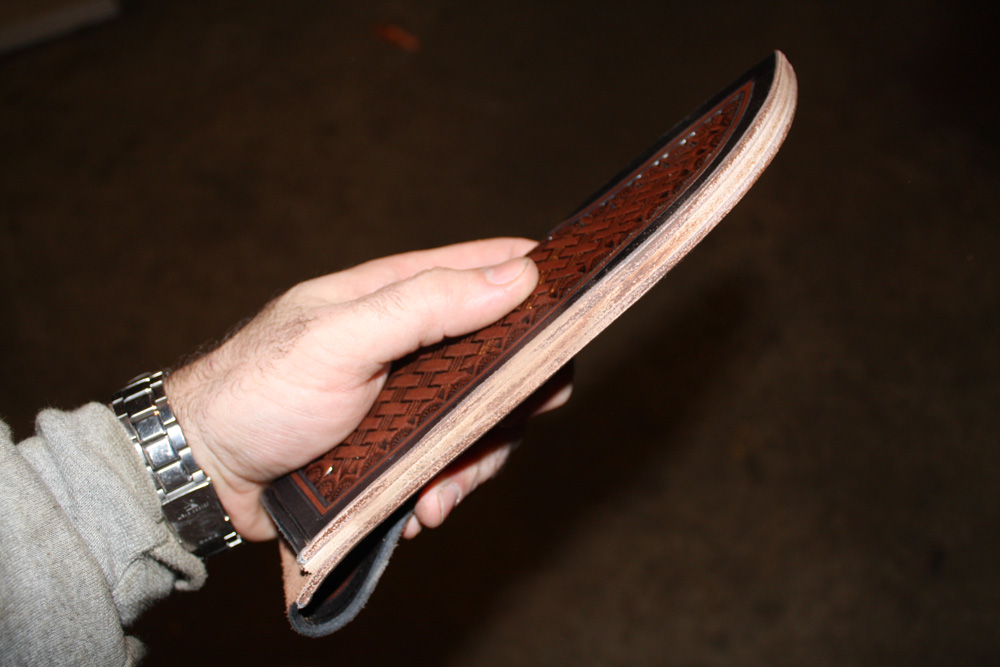
Here is a pic of the knife
and the finished drawing.
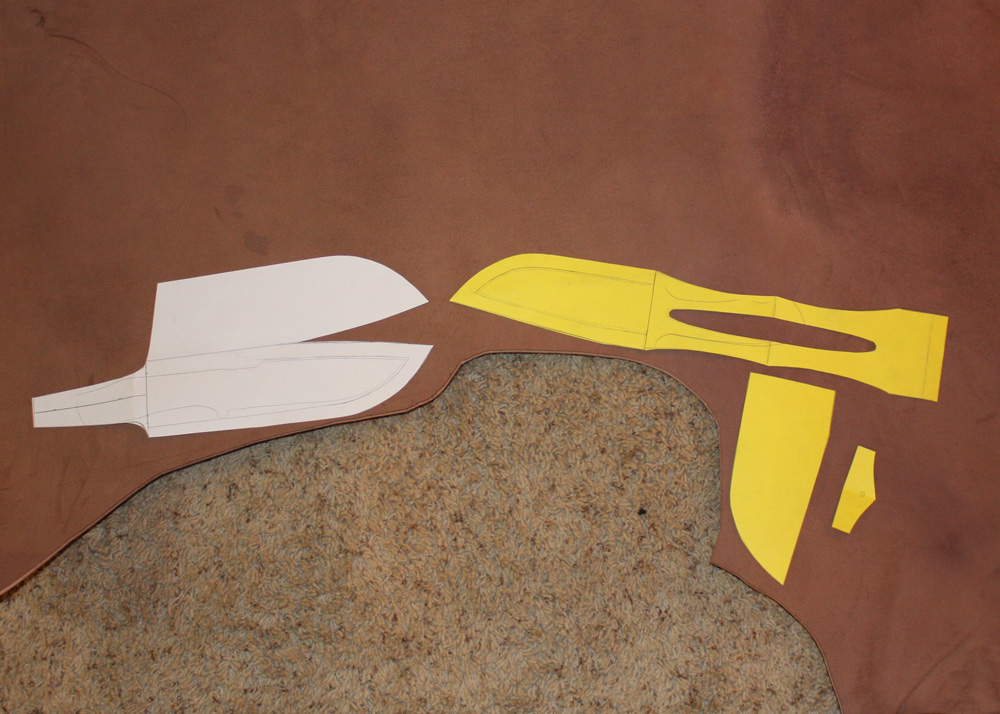
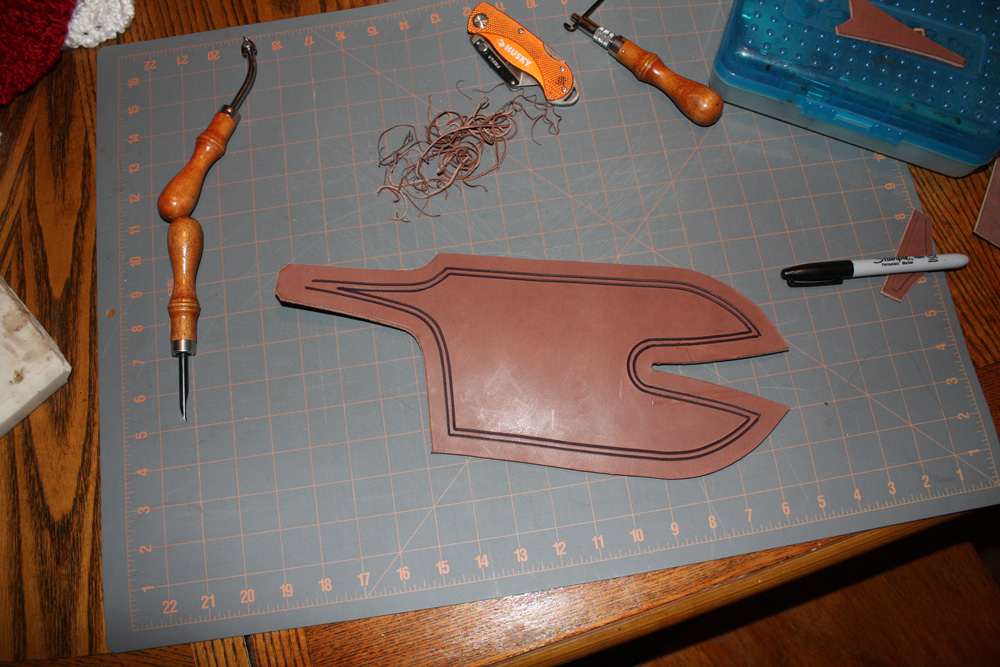
The next pic is of the
pattern, cut out, on the leather. I buy leather from Wickett and
Craig. I cannot recommend them enough. What you see here is about
1/15th of the entire piece, maybe less. My rug is about 4x7 or 4x8
and the leather completely covers it with about a foot hanging off
each end. It takes tooling really well. I bought from Tandy for a
while, and although they are good, and you can make a fine sheath
from their leather, I like talking to the guys at Wickett and
Craig. They give good advice, help pick out the stuff and really
know their stuff.
Anyways, I cut out the
pieces quite a bit over the lines, then trim them down. I use a
utility knife because I haven't bought a round knife yet. I find if
I try to cut things right down from the get-go, I waste more
leather. I tend to screw things up that way and have to start over.
I use mistakes for welts, but would rather not make them at
all.
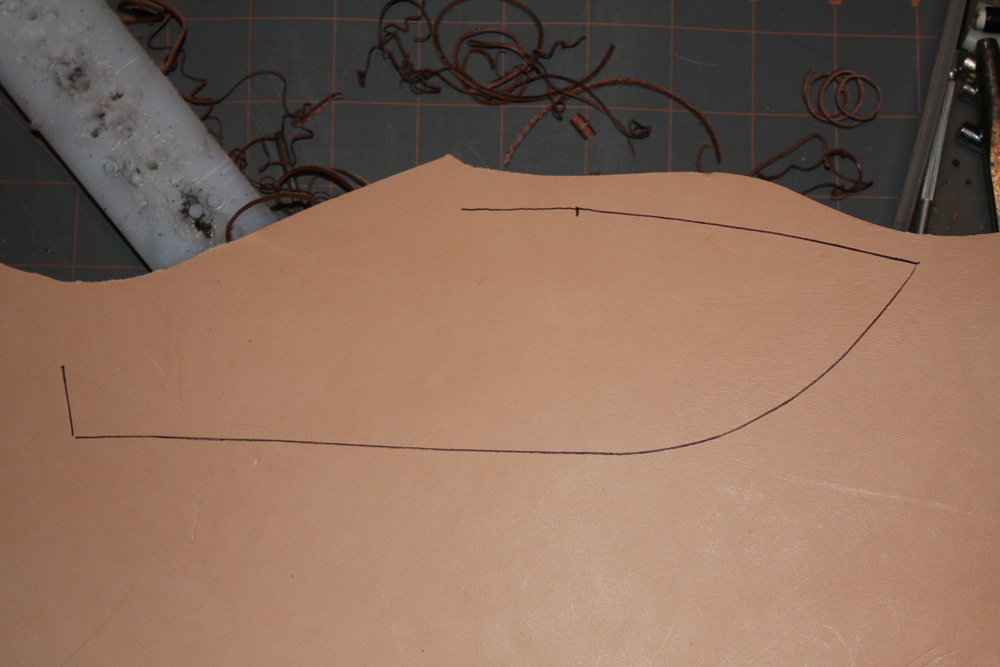
I have another sheath for
a different knife I am trying. It is the one laid out in
yellow.
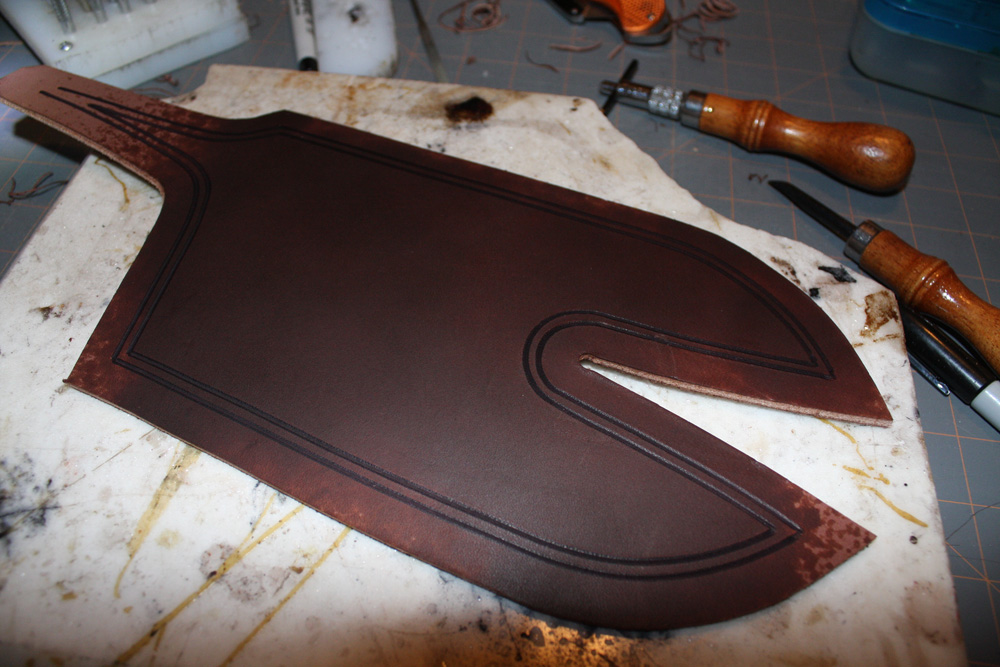
OK, here is the next step. Remember what I said about not wanting to make mistakes. On that other sheath that was with the yellow pattern, I ended up screwing up the top piece...twice. I cut it so the back of the leather was facing out two times. Yeah, I am really proud of that. Anyways, I have the leather cut out to the right specs, and I bevel the edges of the belt loop.
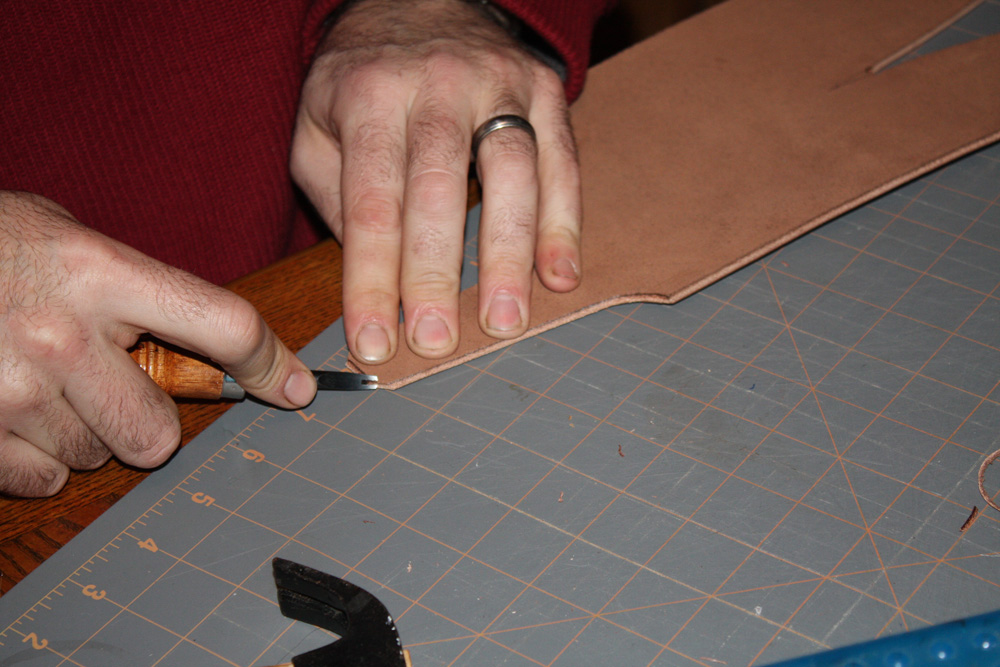
Here I am measuring my gouging tool so that I have it set at 1/2". Remember when I said that I could tell where the inside of my welt is? I cut the first decorative gouge at 1/2". I am always afraid that I will put a stitch in the sheath and miss the welt. Then I would have a stitch there inside my sheath, just waiting to get cut by the blade. This allows me to have a good idea where everything is. I sometimes move the welt in or out a bit in order to make the knife fit just right, but it gives me a good idea where things are.
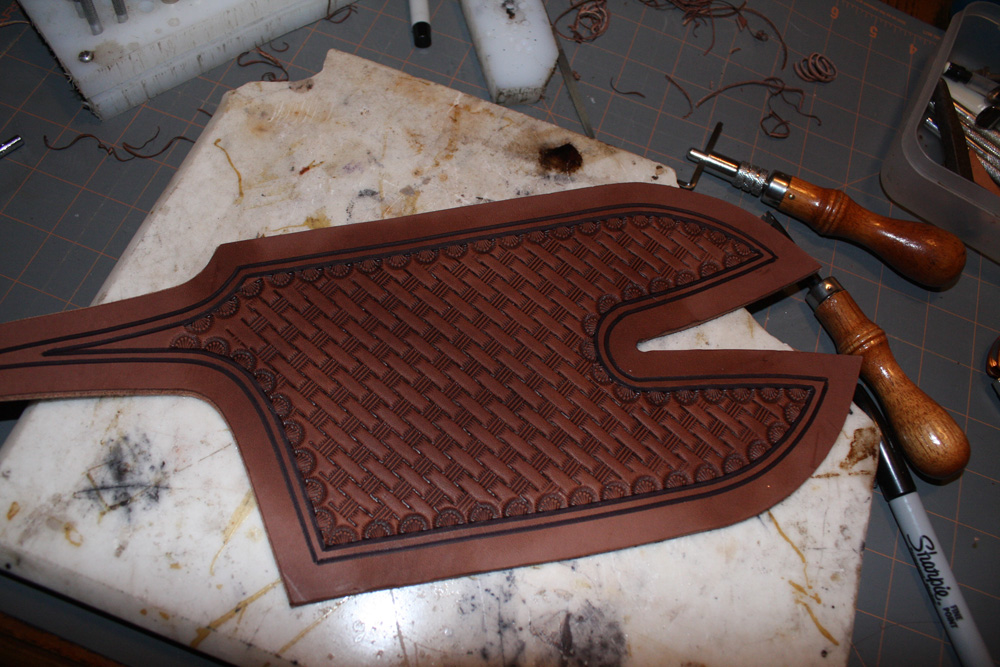
Here are just a few shots of me running the decorative border (holy crap I have hairy hands)
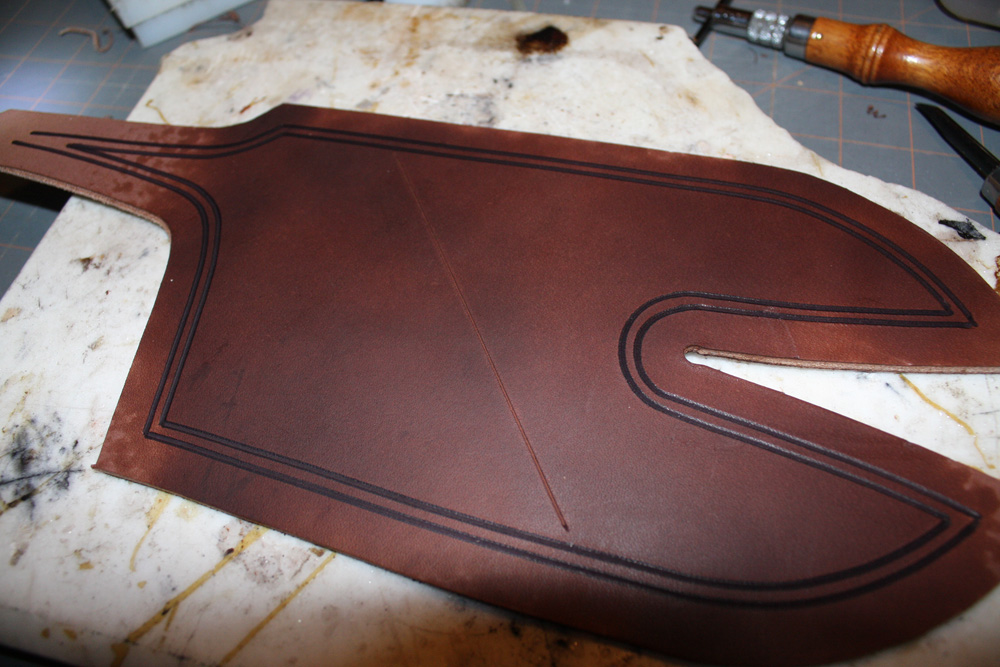
Here is the sheath with the lines run
This is what some would call cheating. Yes, I take a sharpie and run it in the grooves to accent the lines it left.
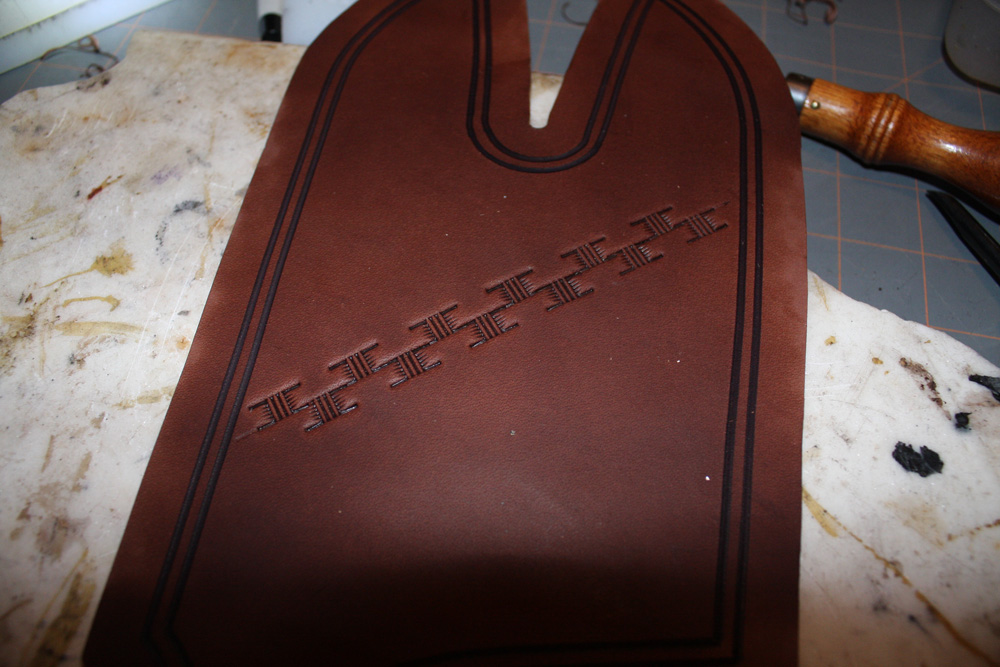
This is just the sheath wet out ready for tooling.
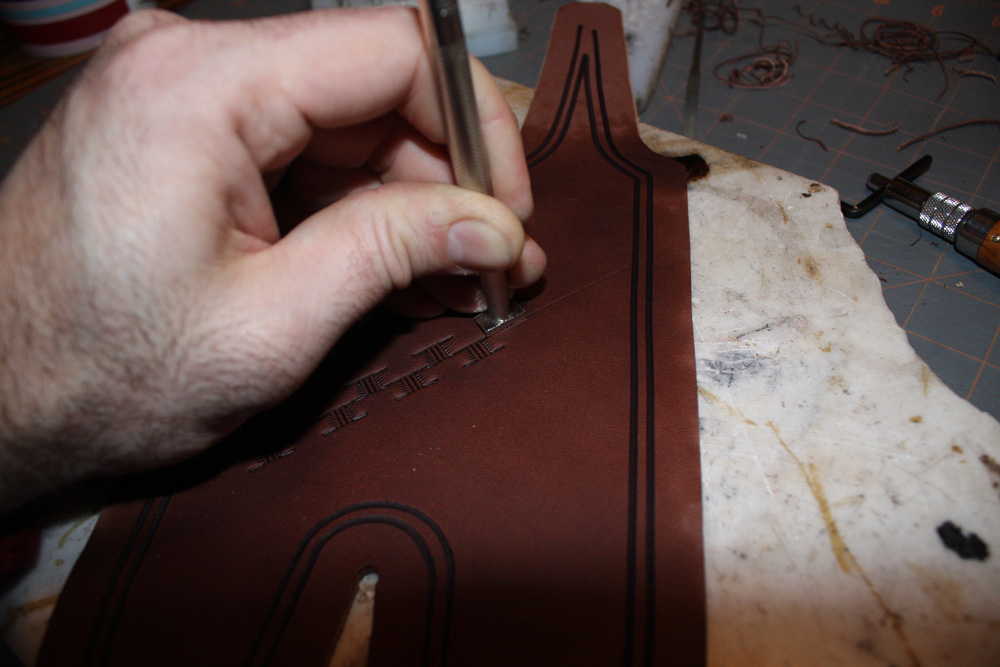
This is my first line that I use to get the basket weave pattern all lined up. On a side note here, in the video I mentioned earlier, it is amazing to watch Paul run perfect lines with a tooling stamp. It is easy to see his years and years of experience doing something that looks easy, but is incredibly difficult. At least to get it to look like he gets it to look. FYI I am not a Paul Long stalker, I am just very impressed with his work and his attitude toward doing his best at all times.
Now I am beginning my tooling stamp. I run it pretty close to the edge and try not to let the edge of the stamp run across the black lines. I bought the stamp a few years back, and for the life of me could not figure out how to make it look like a basket weave. I ended up asking George Trout at the Ohio Knife show and he happily showed me how to do it. It is easy now, but I really could not figure it out at first.
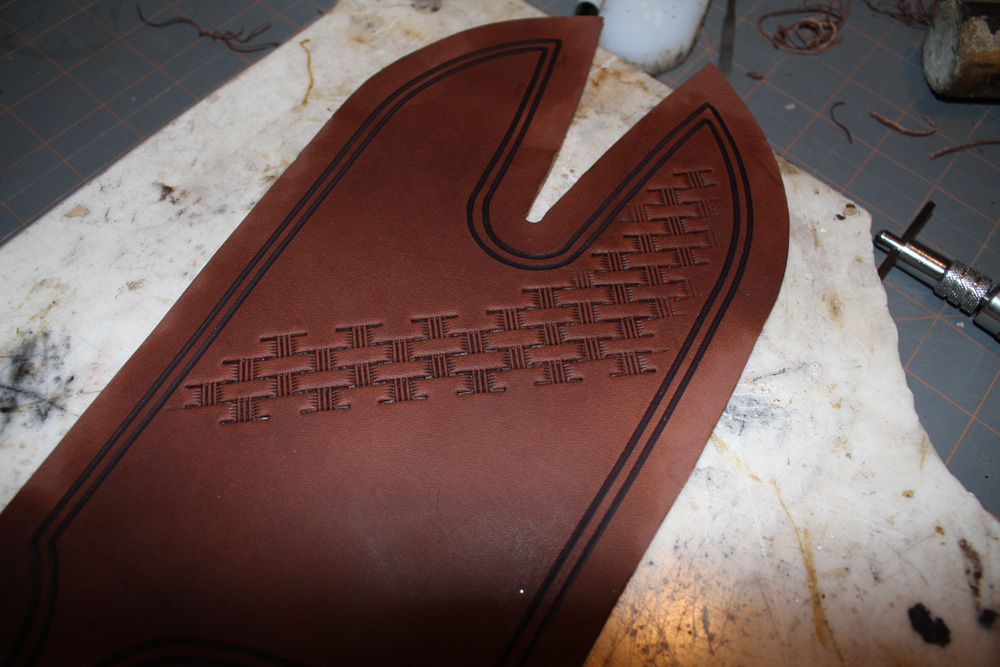
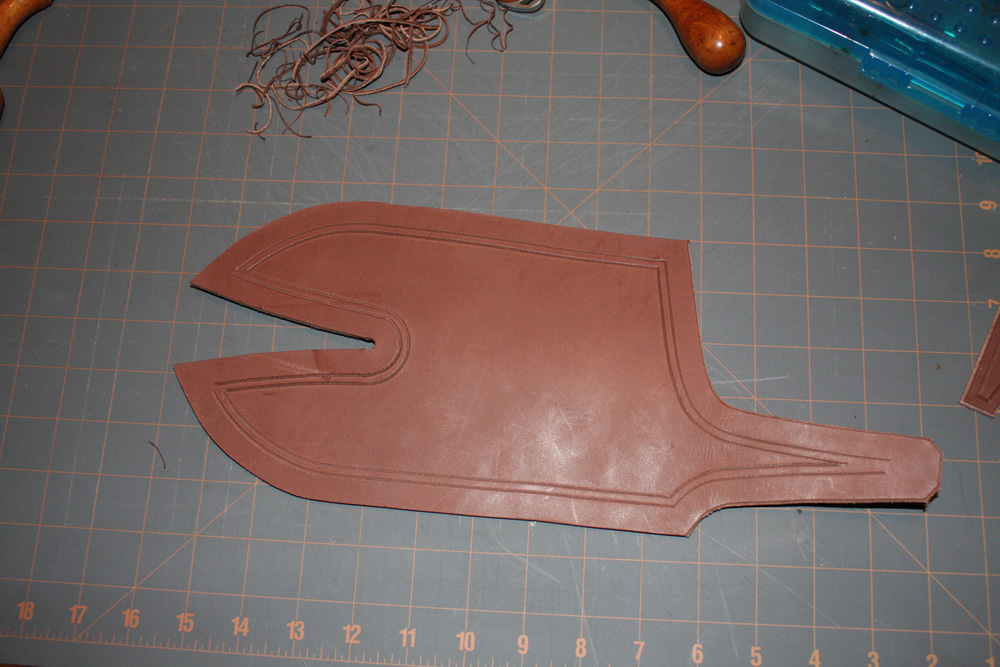
Here the basket weave is done and I am going to start the edging
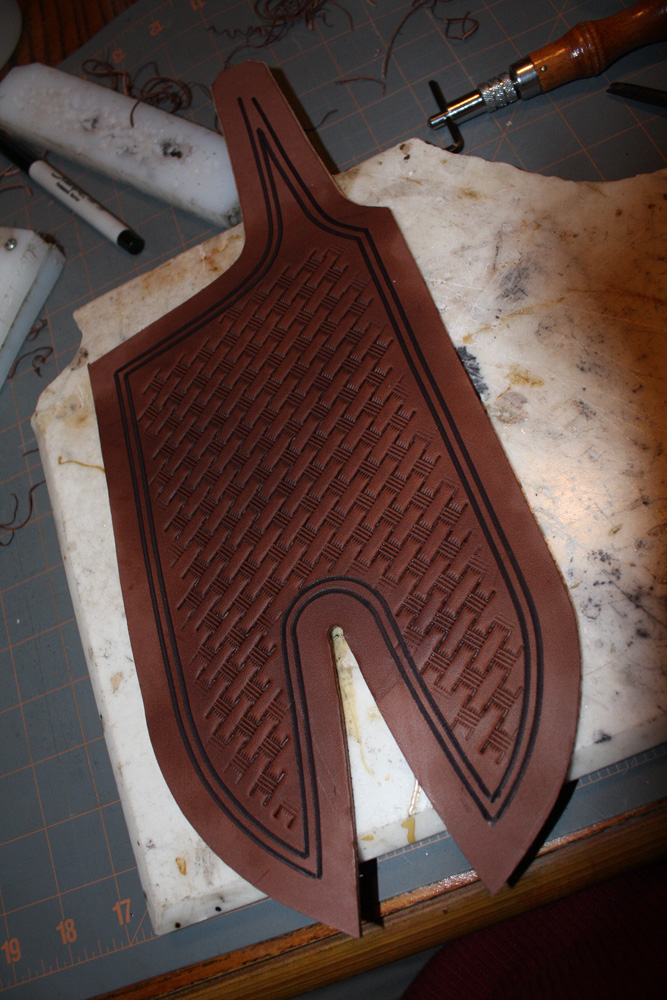
This is the beginning of the edging, just following the black lines again.
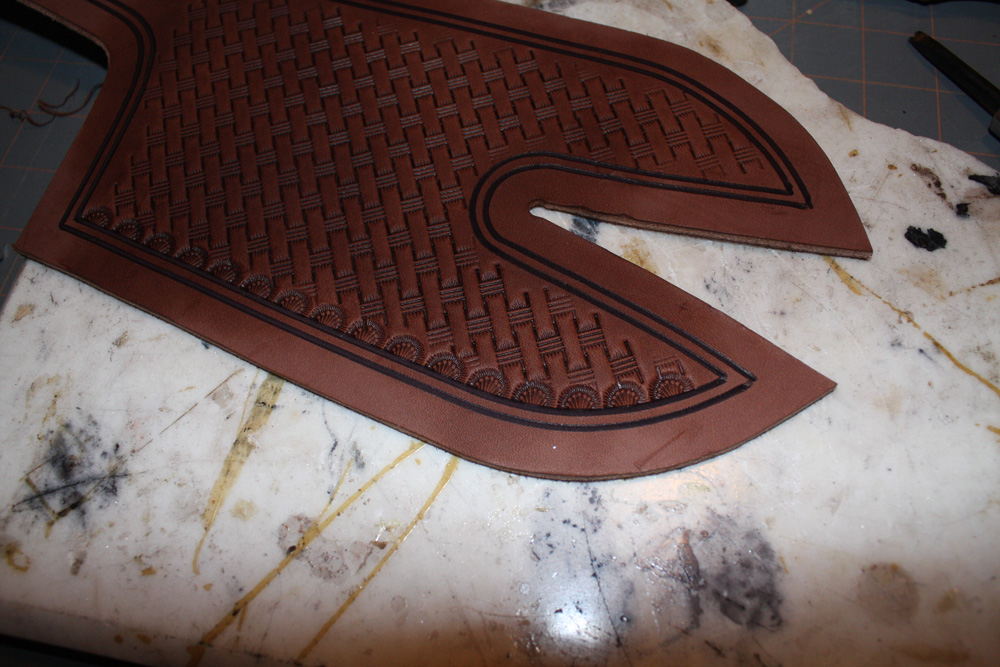
The first round is done here I am going to add a little accent mark between the border tool marks.
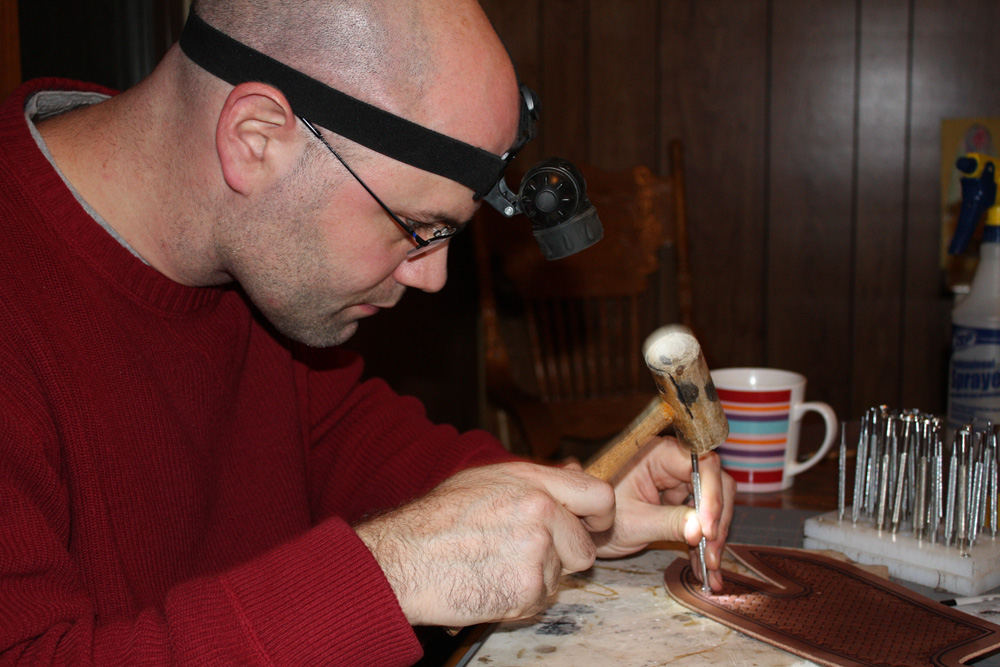
Me at work. The headgear, apart from making me look extremely cool, really puts the light right where I need it. My wife likes it so much she wants me to wear it for the family Christmas photo. I cannot count the times she has called me "dork" when I put it on.
Ok, Here I am putting some Feibings leather dye. I use oil dye (also suggested by George Trout) I have used both the eco-flow, which ended up eco-flowing down the drain. It looked awful. Then I tried the alcohol based dyes and they were ok, but tended to leave streaks a bit. After I tried the oil dyes, I bought them in the large containers. I fortunately had a couple freshly emptied eco-flow containers left so I used them and just keep adding to them as they get low. It is easier to get the dauber into the dye with the smaller containers, but it is cheaper (in the long run) to buy them in the larger containers. On a side note, if you get some of the oil dye on your skin, it will be with you for a while. I got a little mark on my wrist tonight, that I can look forward to explaining to my students at school for the remainder of the week. I use the wool daubers, and carefully run it around the edge trying very hard not to get it past the black line.

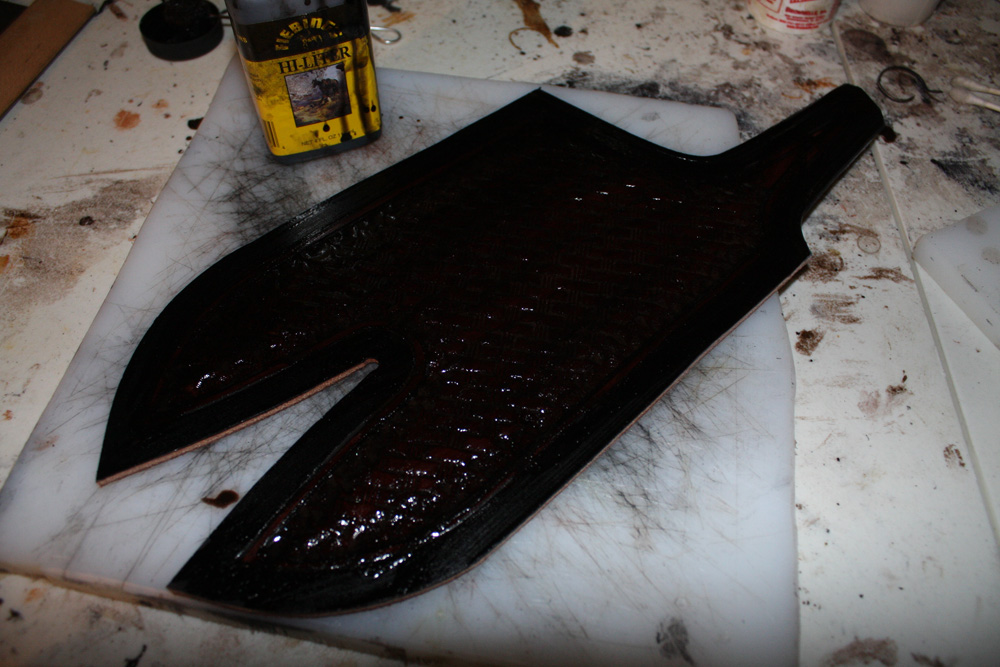
I am getting ready now for the highlighter. It fills in the tooling and really makes it stand out. I recently decided to try some pre-dyed leather from Wickett and Craig. It is drum dyed a nice deep brown. The highlighter still works, but the contrast between the highlighter and the dyed leather is not as extreme as the contrast between the highlighter and undyed leather. It is, however, enough that I still use it and think it does make the tooling stand out a bit better. I keep a paper towel on hand because, as you will see, I put the highlighter on pretty thick and will need to wipe it all off.
Last part for tonight. I bought a decent food dehydrator a while ago. I set it on low (which basically just moves some warm air) and put the sheaths in for about 1/2 hour or so to dry everything out.

OK, here goes for the next section. It is time to make a welt. I have an old piece of leather that is not quite up to grade for a sheath, but is perfect for a welt. First I trace the sheath on the leather.
Here I cut out the outer line, then set my gouge for a half inch and cut the inside line. I usually mark up the inside line with a fine tip sharpie just so I can see everything.

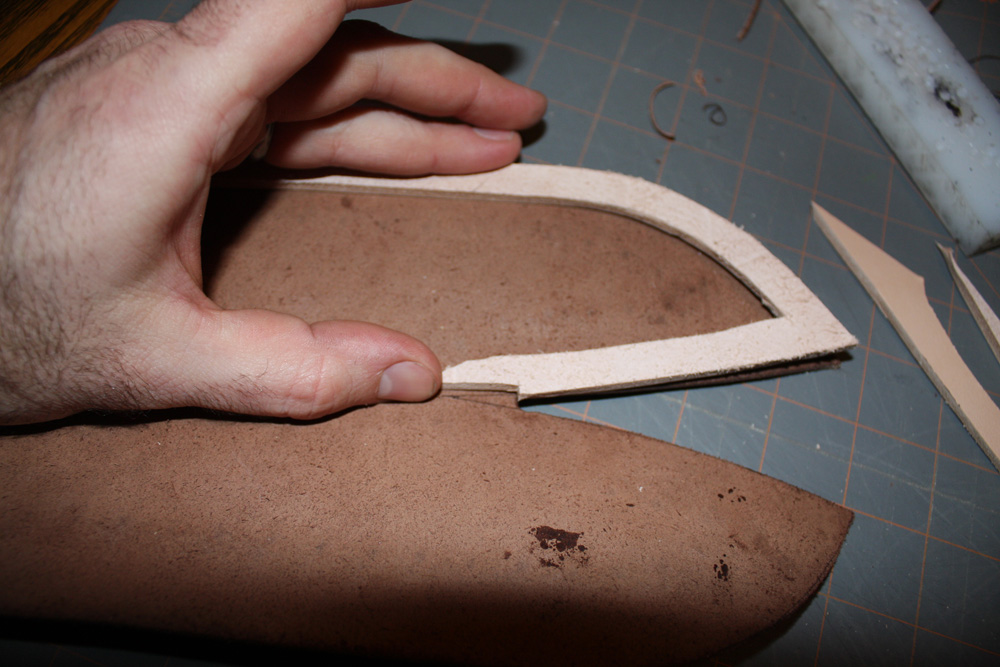
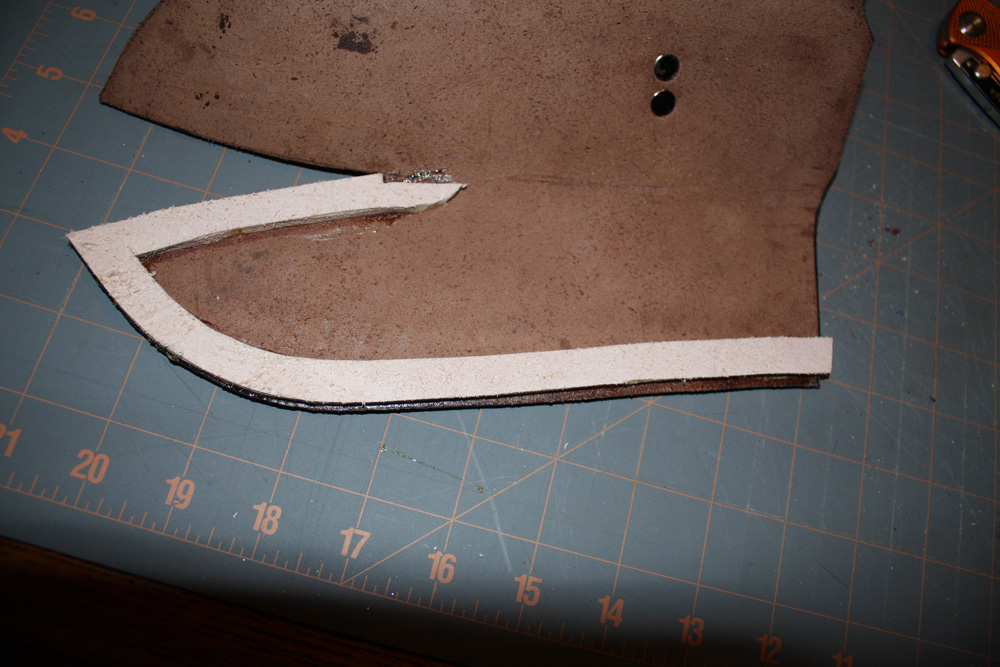
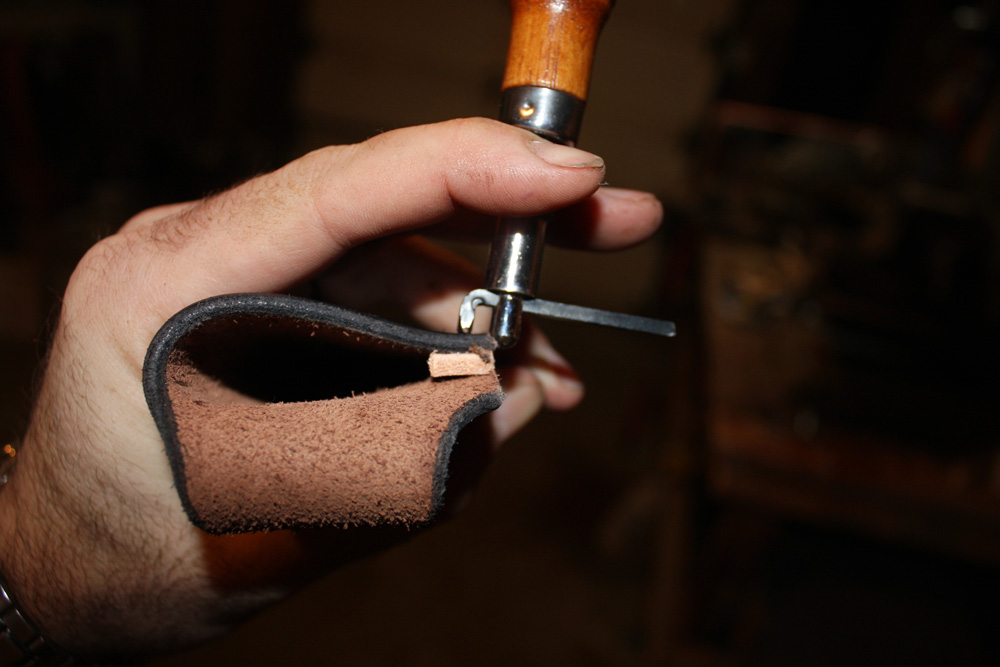
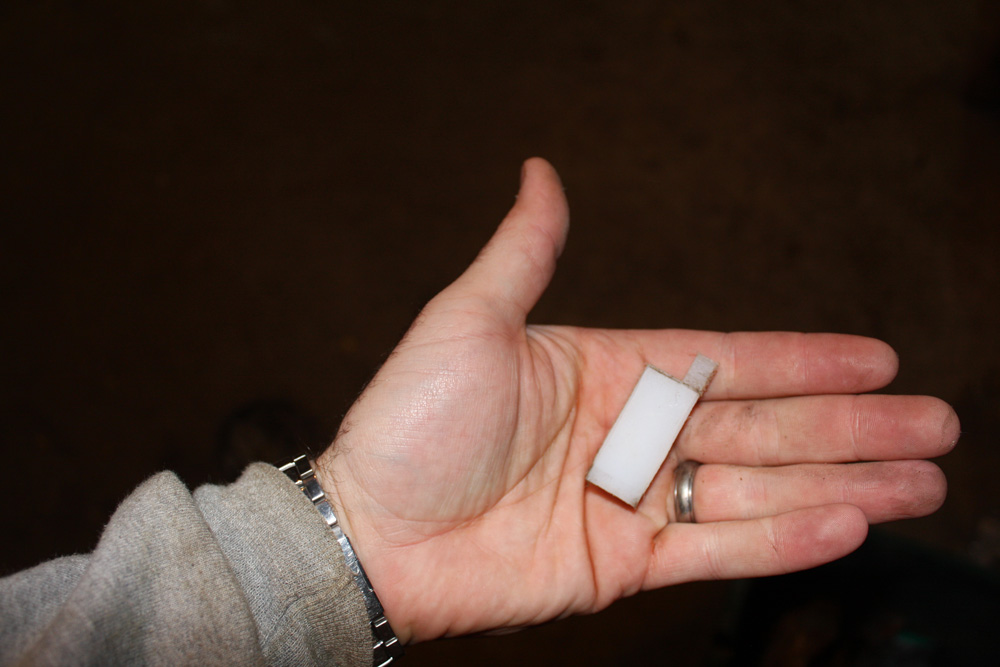
I noticed that on the inside of the top of the sheath, the leather never really matched up, and when I went to sand down the outside of the edge, I had to take a lot of leather off the sheath in order to meet up with the welt. I am not sure if this makes sense, but in order to counteract this, I cut a small piece of the leather out so that it sits tightly against the inside top of the sheath, and still meets up with the outer portion of the sheath...ok I just confused myself by that statement, but here is a pic, maybe that will help.
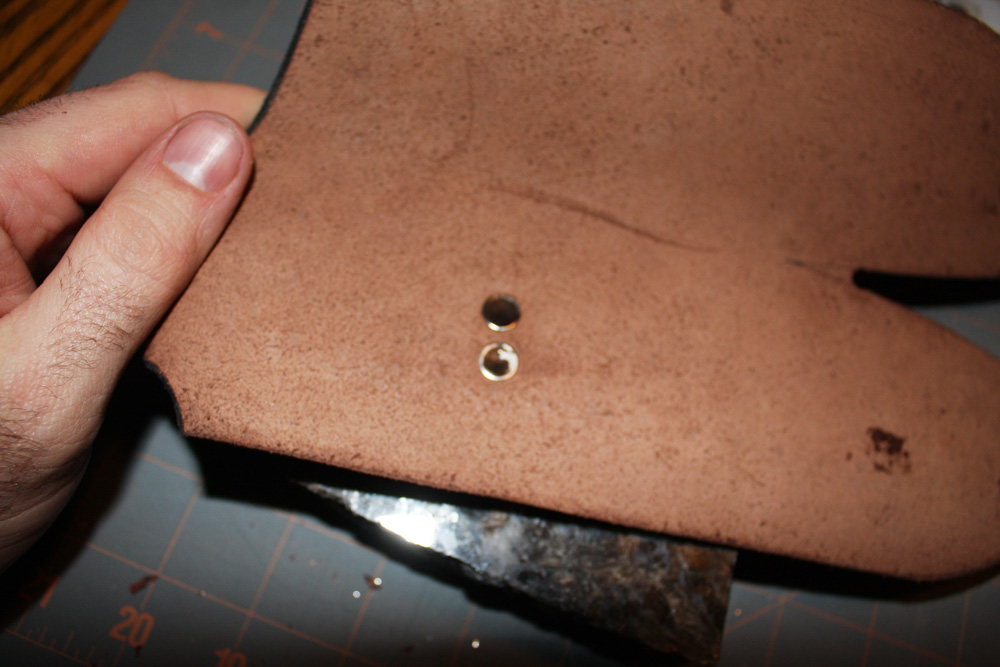
Here is where I am sure I will have the most eyebrows raised. I use rivets to hold the belt loop down. I know, I know...metal against the blade. I use a hammer with a polished convex face, and hammer the rivets from the inside so they sit in a little recessed area. Recently I have begun stitching the loop down, because of some information given to me by another bladeforum member.
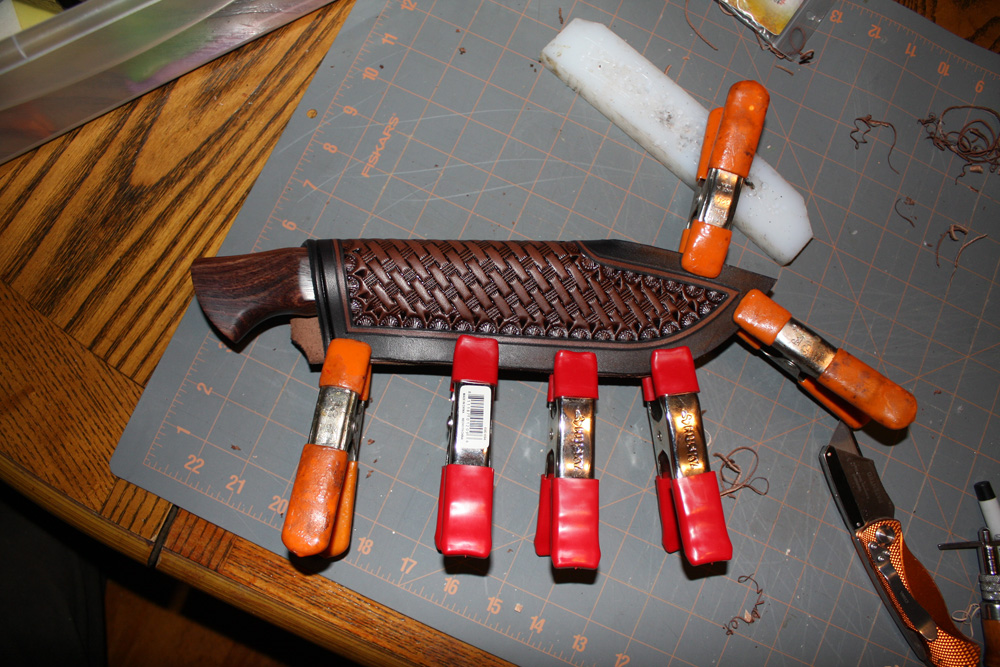
Now is a good time to test fit it all. I use some small spring clamps and put the knife in. I am looking for it to fit in a little snug. It will stretch out a bit when the knife is shoved in it about a hundred times. It is actually a bit loose, so I just will move the welt in toward the back of the sheath a bit.
I actually write it on the welt so I don't forget when I am getting ready to glue it up. I am not that old (only 37) but I still need these little reminders. I hope I am not losing it.

I glue it up using regular 3M contact cement. Here is the first side done. Notice I remembered to move the welt in a bit.
I glue it all together and then run out to my shop to sand the edges on my KMG grinder. After a bit of quick work, the edges are all smoothed up and ready to go. the black line is a decent guide for me and helps me keep my edges even.
Once I get the edge all nice and smooth (use a high grit to burnish it a bit) I set the gouge to fit within the black, where I know the welt is.
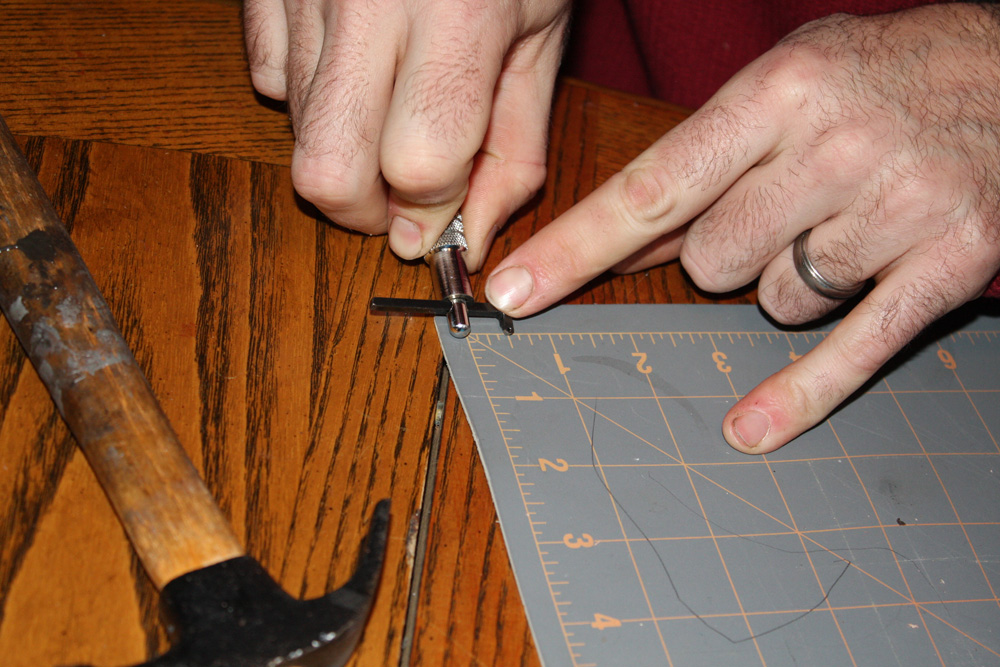
I use a stitching wheel
from Tandy to set the spaces for my stitching holes. I am
actually pretty proud of this. I noticed on good stitchers, that
there is a guide that keeps the stitches the same distance from the
edge. I made one for my drill press out of a piece of
nylon.
Here it is
and here is how it works.

Now it is back inside for
hand stitching...I can do it in front of the TV, so that makes it
ok. If I had to do it in a quiet room, I would want to step in
front of a bus.
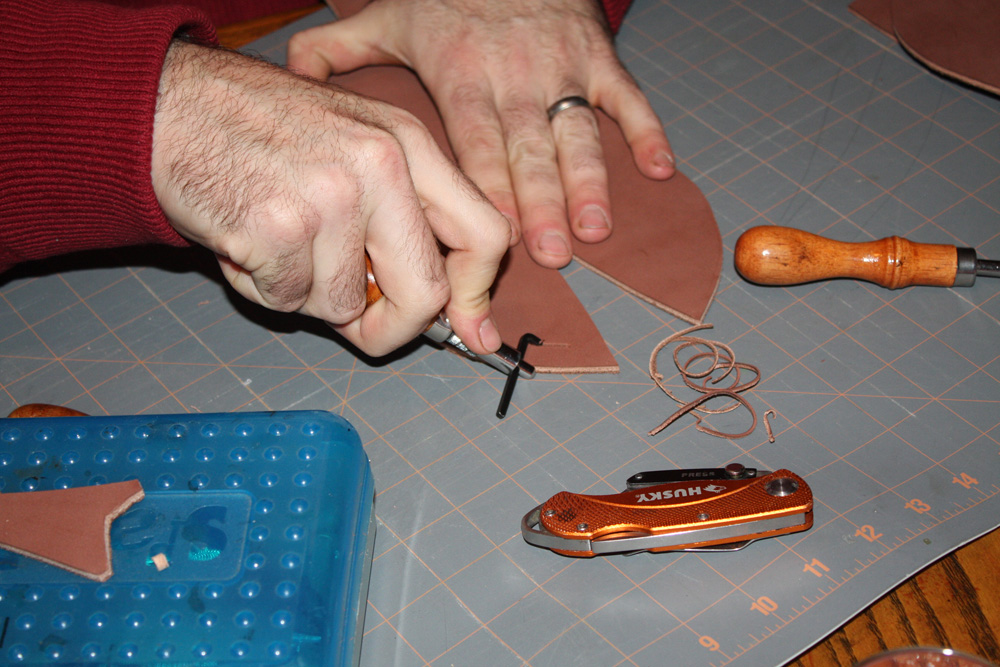
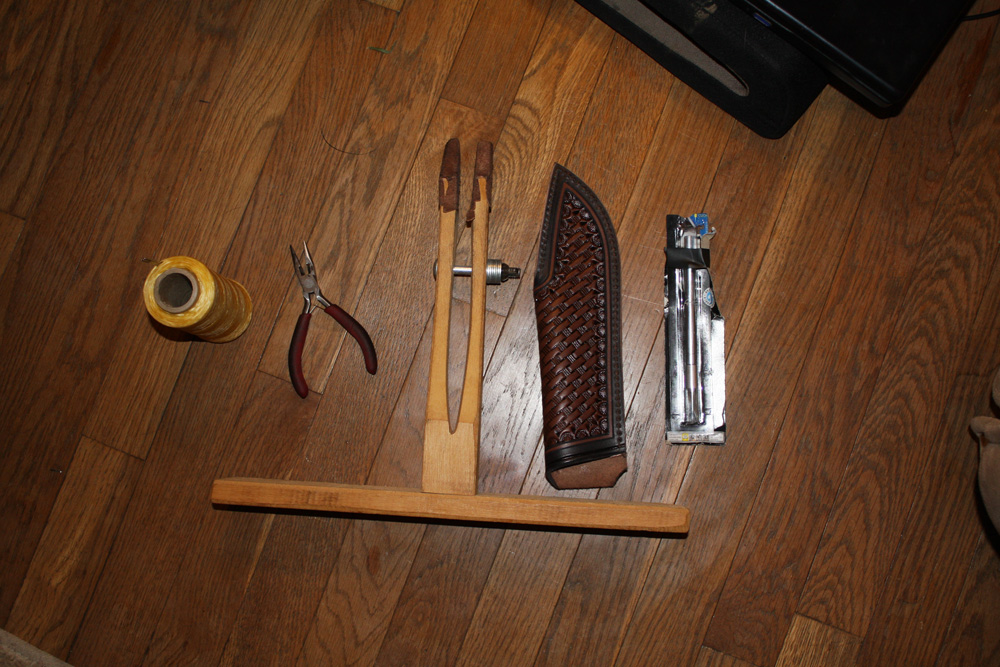
Here are the tools. I made
the stitching pony and have some artificial sinew. That stuff is
incredibly strong, it will cut into your fingers before you can
break it. I use a double needle saddle stitch. I also give the
thread a single wrap between each stitch so there is a twist inside
the hole of the sheath. I have had to remove stitches on a sheath
in the past, and I had to individually cut each stitch.
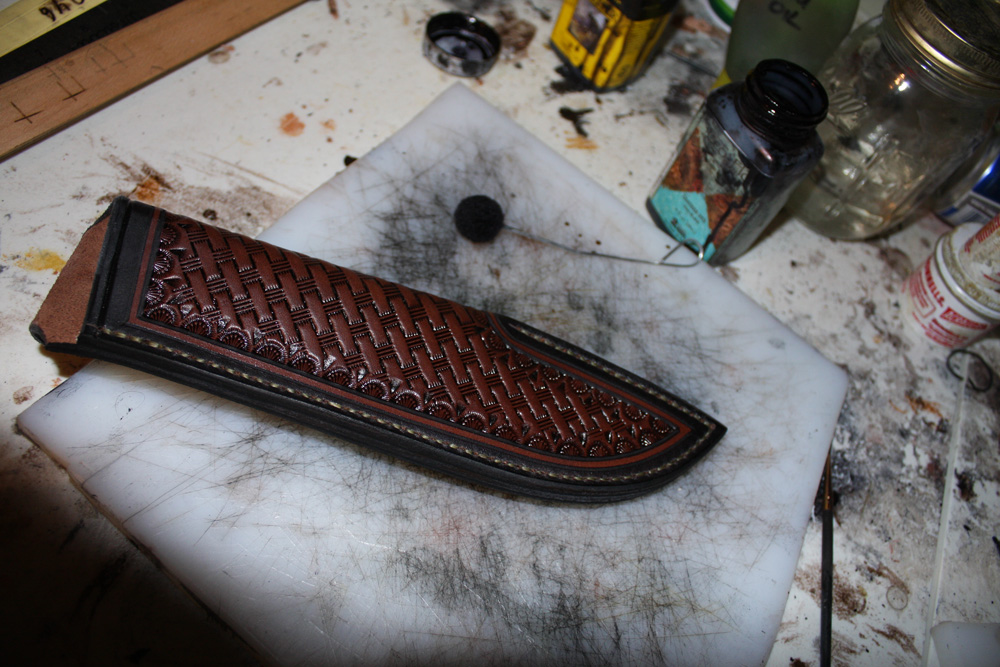
Here it is all stitched up
Ok, time to dye the edge. Same black oil dye. I had used edge kote before, but it tended to bleed out if it became wet, even after it was treated.
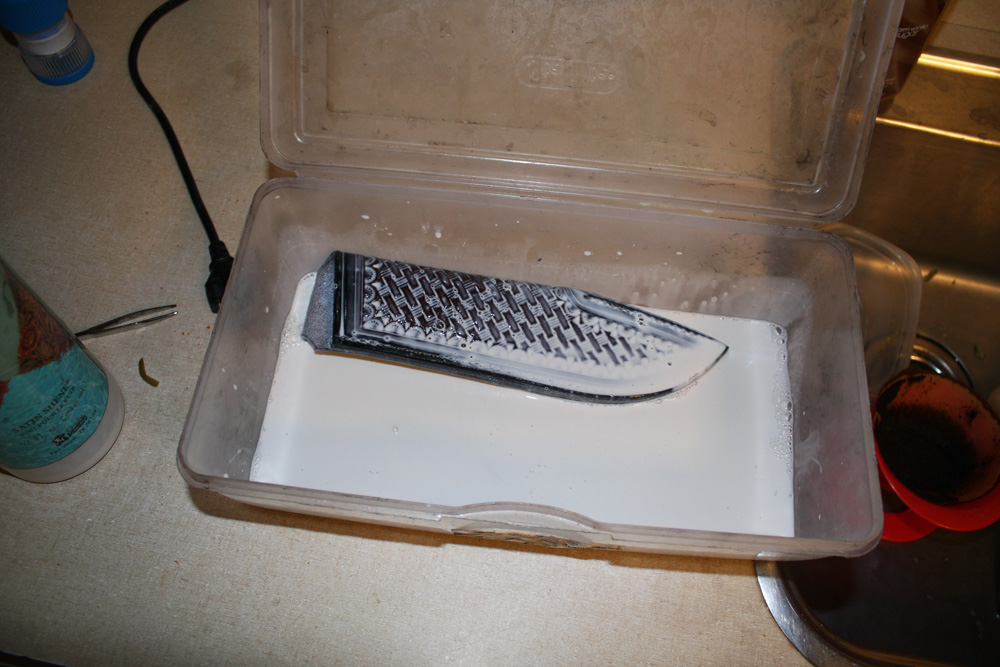
Here is another area where I stray from the norm. I had a knife one time that would rust after just a few hours in a sheath. I don't really know why, but it did. I, at that point, started soaking the entire sheath in the sheen coating. It would coat all the leather, inside and out. This really stiffened it up and for some reason kept the knife from rusting. I have been doing it ever since.
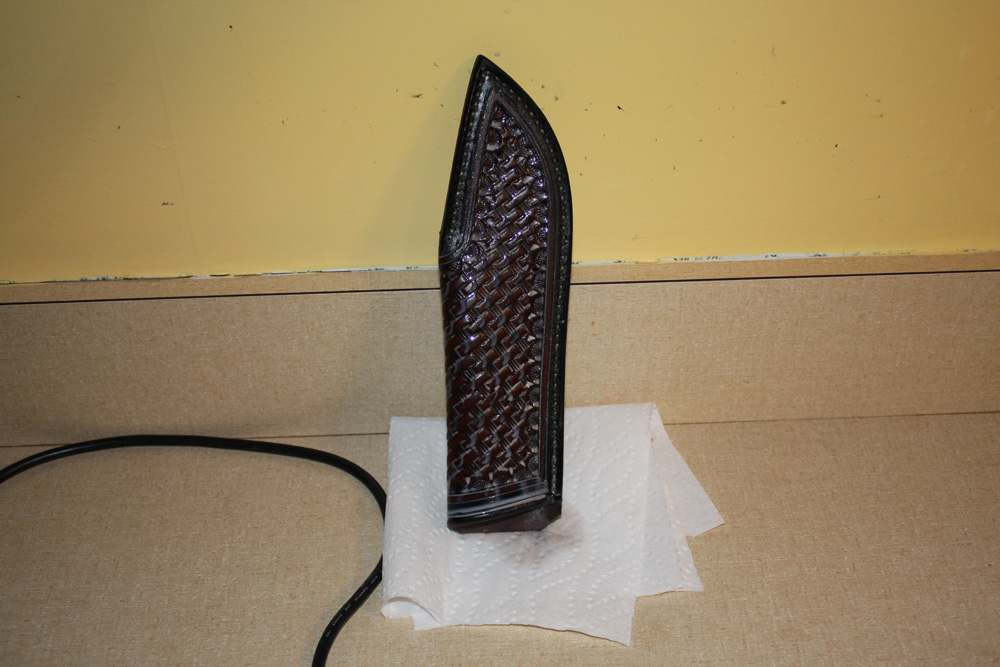
I then put it up on a piece of paper towel and lean it against the wall until it is dry enough to move to the dehydrator again.
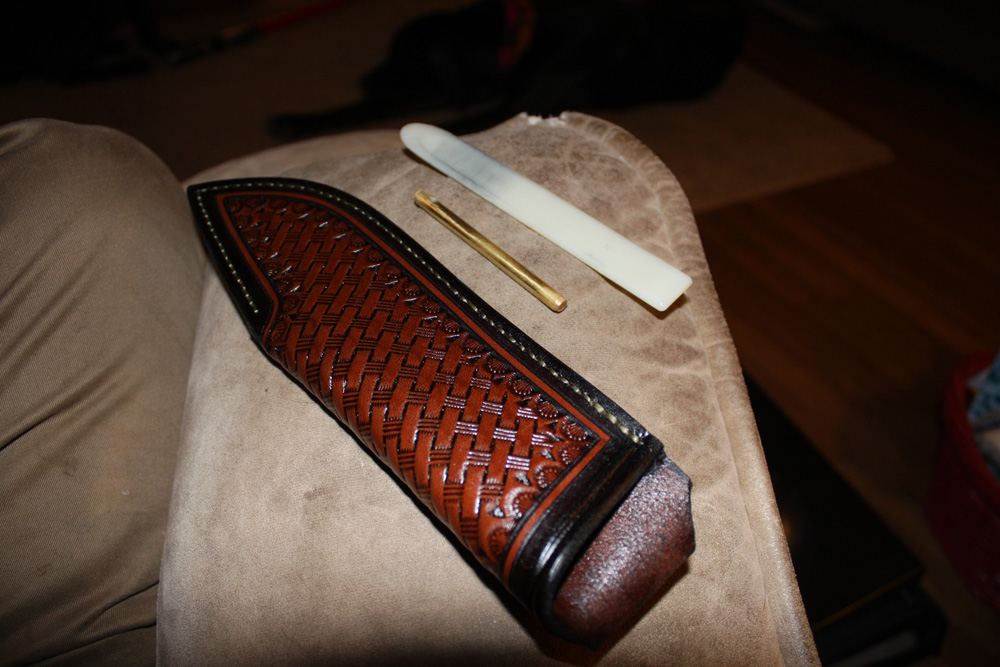
Here it is getting ready to slick the edge. It is a plastic slicker and a piece of brass rod. It works well, I make sure I round the edges as much as I can.
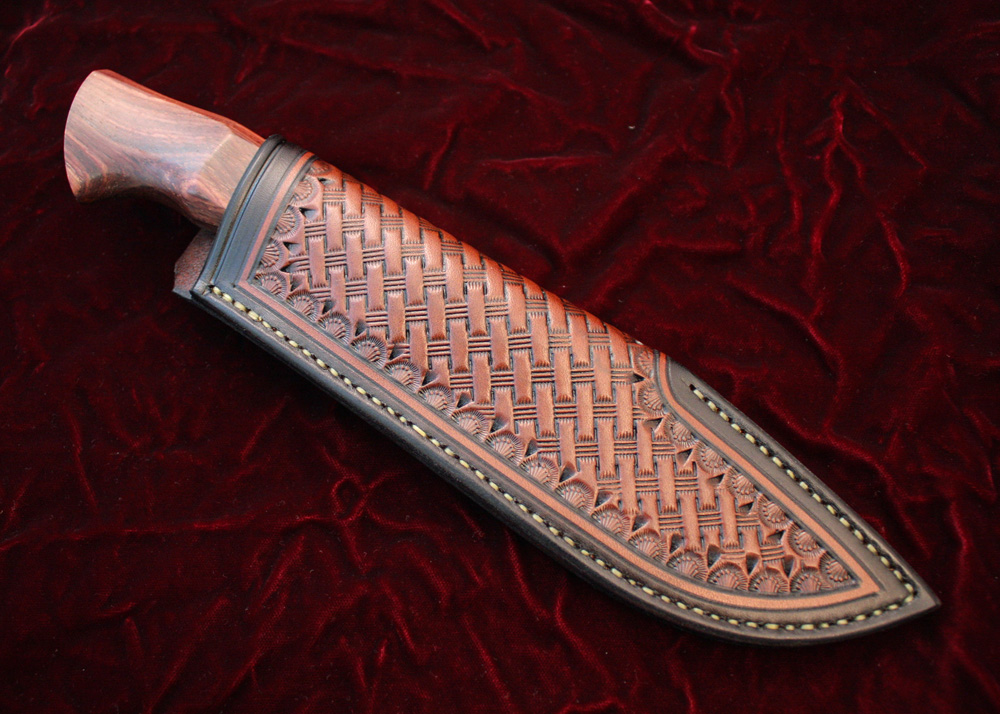
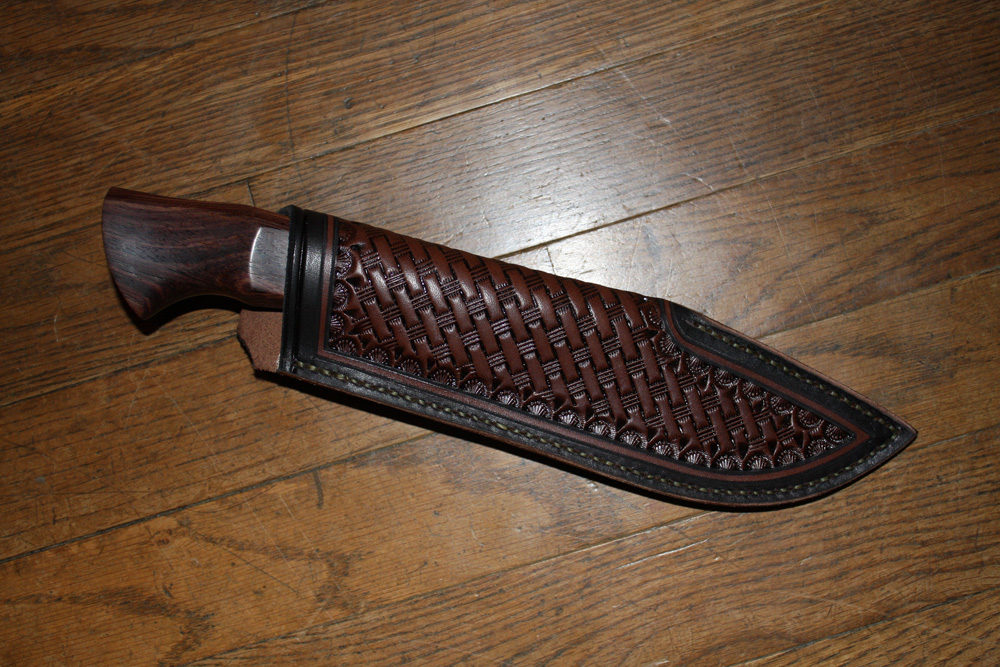
Now I am done... Here it is.